If you’re looking for a reliable fried chicken recipe, this is a great place to start. The chicken gets brined in buttermilk and spices, coated in a flavorful breading, and fried until crisp and golden brown.
I’ll walk you through the details that make a difference, from keeping the oil at the right temperature to knowing exactly when the chicken is done. The result is everything good fried chicken should be: juicy on the inside, crunchy on the outside, and hard to resist. Serve it warm with classic sides like coleslaw, buttermilk biscuits, or mac and cheese.
What You’ll Need To Make Fried Chicken
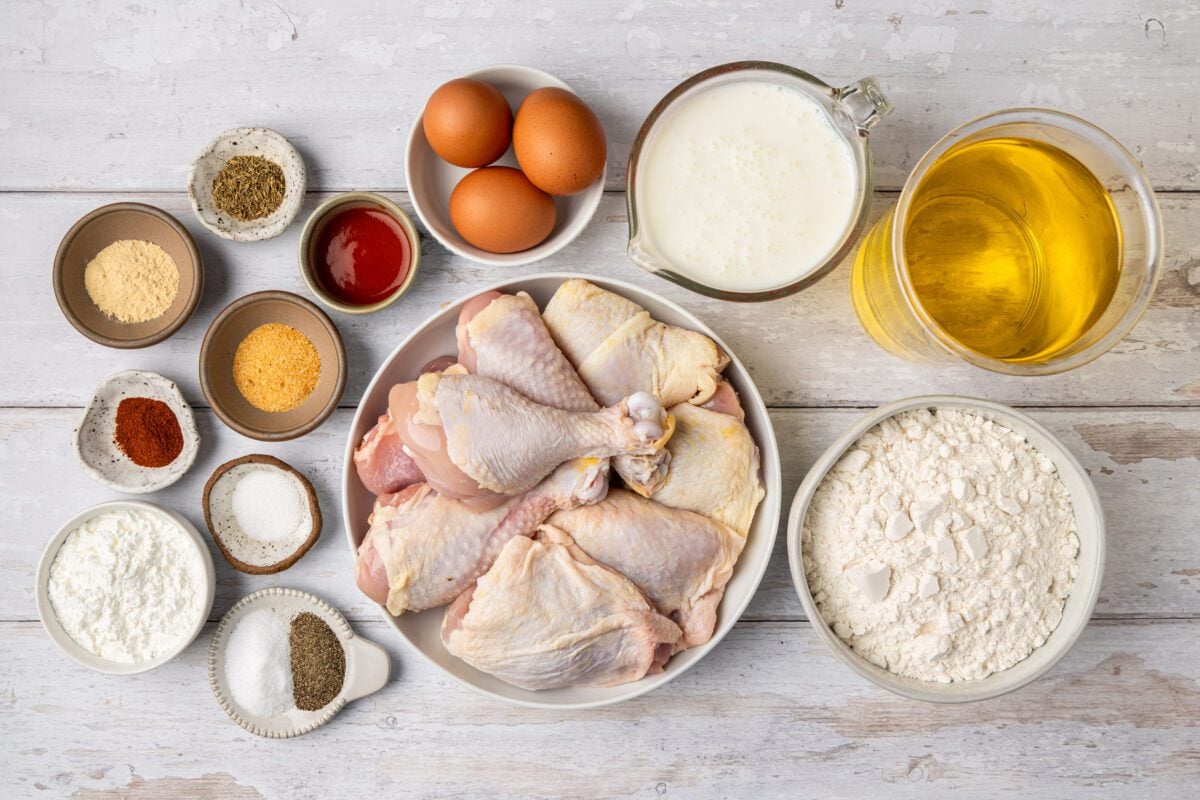
- Buttermilk: Forms the base of the brine, carrying the seasonings that flavor the chicken while gently tenderizing the meat and helping it stay juicy. It also helps the breading cling to the chicken later.
- Hot Sauce: Adds tang and gentle heat to the brine without making the chicken overly spicy. Crystal or Frank’s both work well.
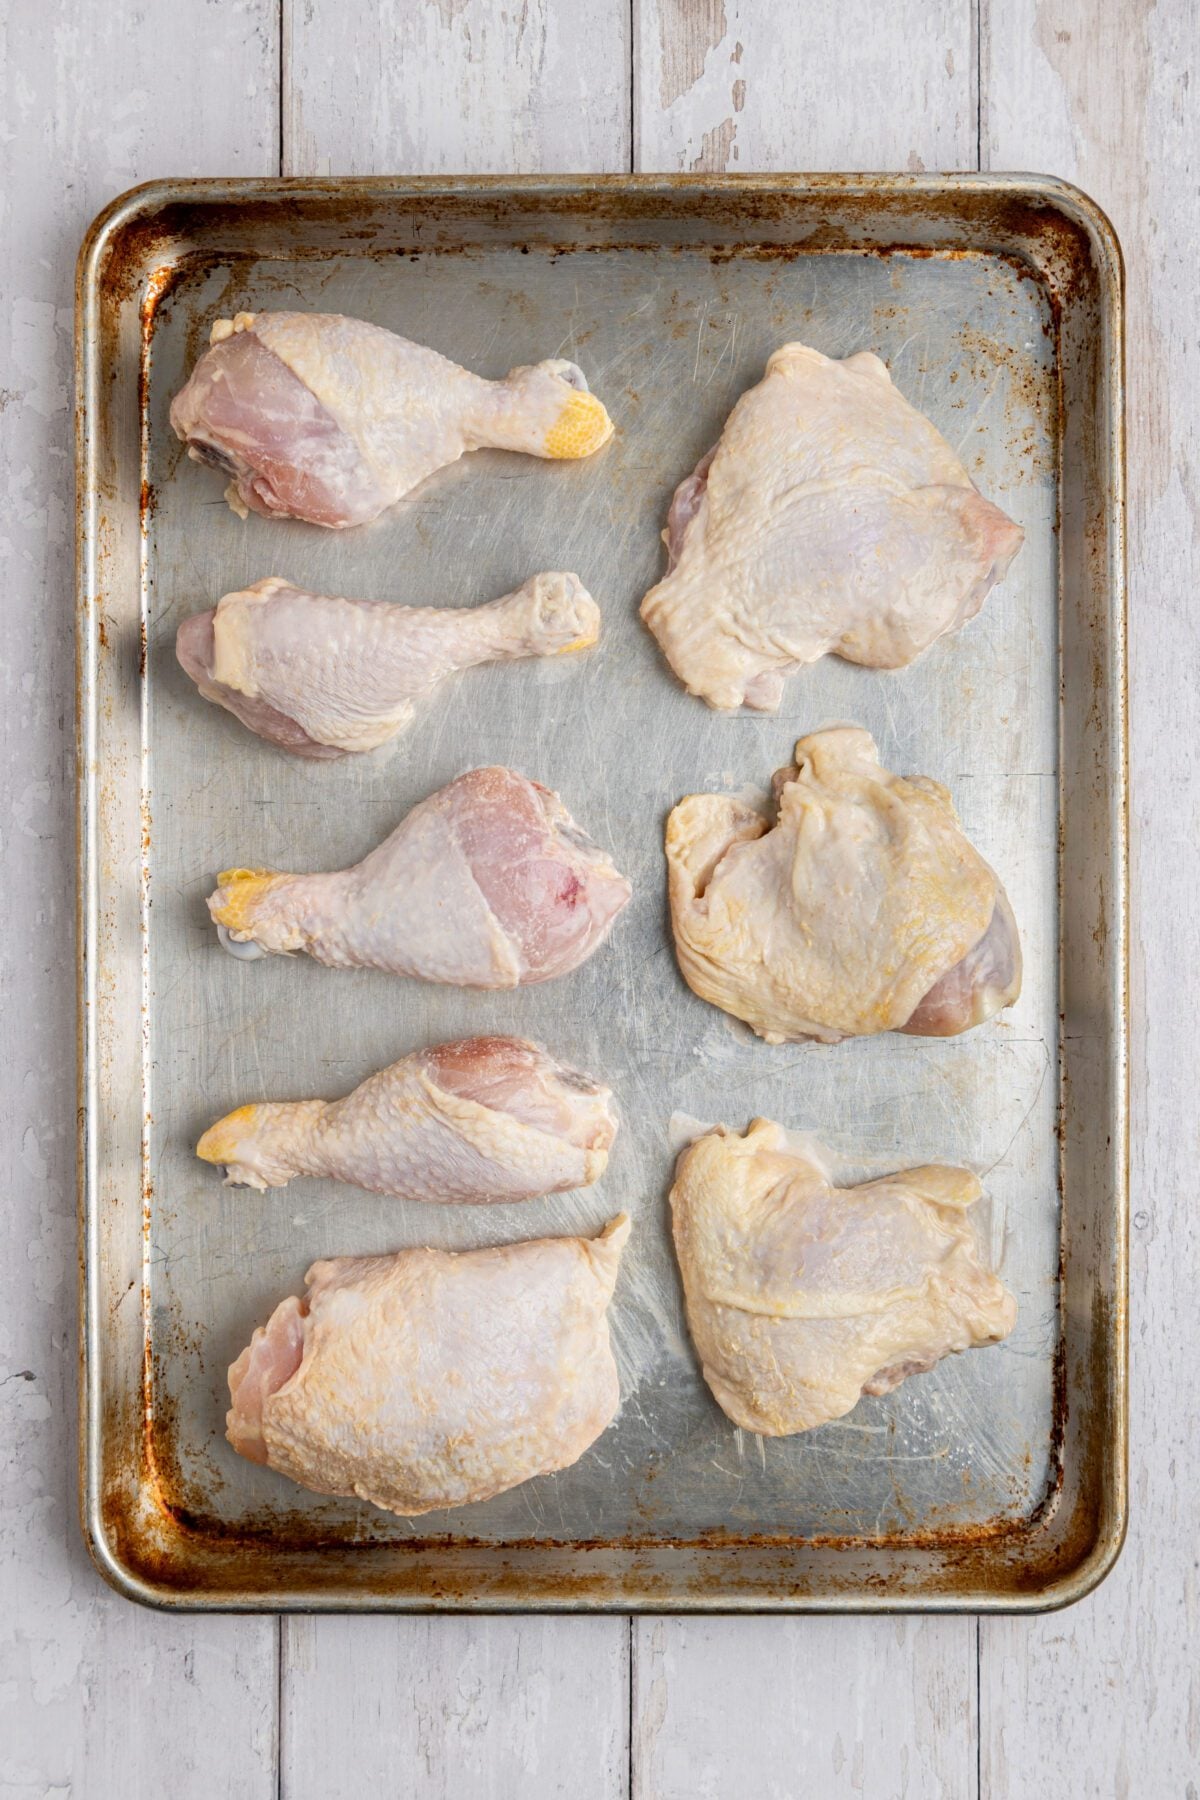
- Bone-In Chicken Pieces: A mix of white and dark meat gives you classic fried chicken with plenty of flavor and juicy meat. If using bone-in breasts, halve them crosswise so they cook more evenly with the other pieces.
- Flour & Cornstarch: Together, they form the breading: flour gives the coating structure, while cornstarch makes it lighter and extra crisp. For accuracy, spoon the flour into your measuring cup and level it off with a knife.
- Seasonings: Salt, garlic powder, and onion powder season both the brine and breading, while black pepper, smoked paprika, and thyme add peppery, smoky, and herby notes to the crust.
- Accent Seasoning: An MSG-based seasoning that boosts savory, umami flavor. You’ll find it in the spice aisle. I love the flavor it adds, but it’s optional. Sazón seasoning also works well here if you’d like a more seasoned alternative.
- Eggs: Whisked into the reserved buttermilk brine to create the wet coating that helps the second layer of breading cling to the chicken.
- Peanut or Vegetable Oil: Both have a neutral flavor and work well for frying the chicken until deeply golden and crisp.
- Jump to the printable recipe for precise measurements
How To Make Fried Chicken
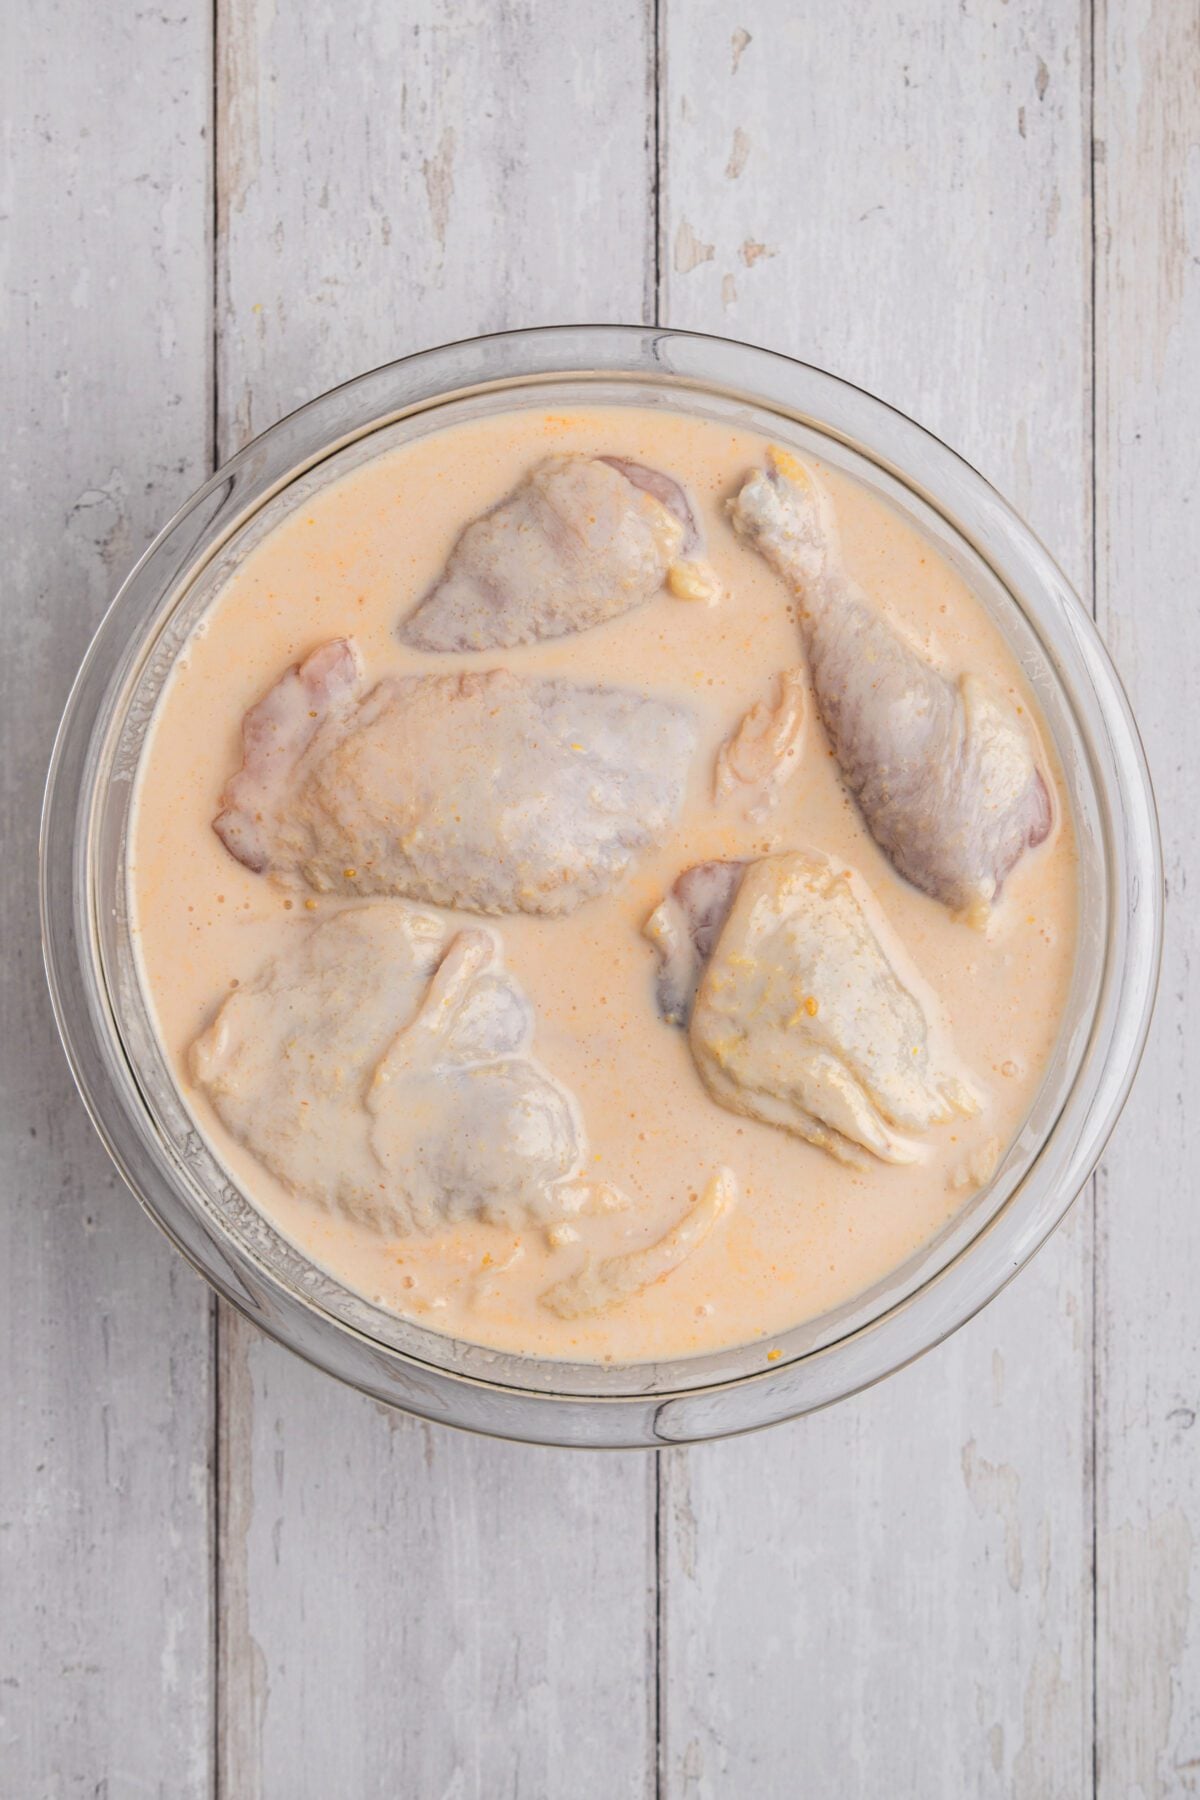
Step 1: Brine the chicken. Let the chicken soak in the seasoned buttermilk brine for at least 4 hours or overnight. Take the chicken out of the refrigerator about 30 minutes before frying. Taking some of the chill off helps minimize the drop in oil temperature when the chicken goes in, making it easier to maintain a crisp crust without the chicken turning greasy.
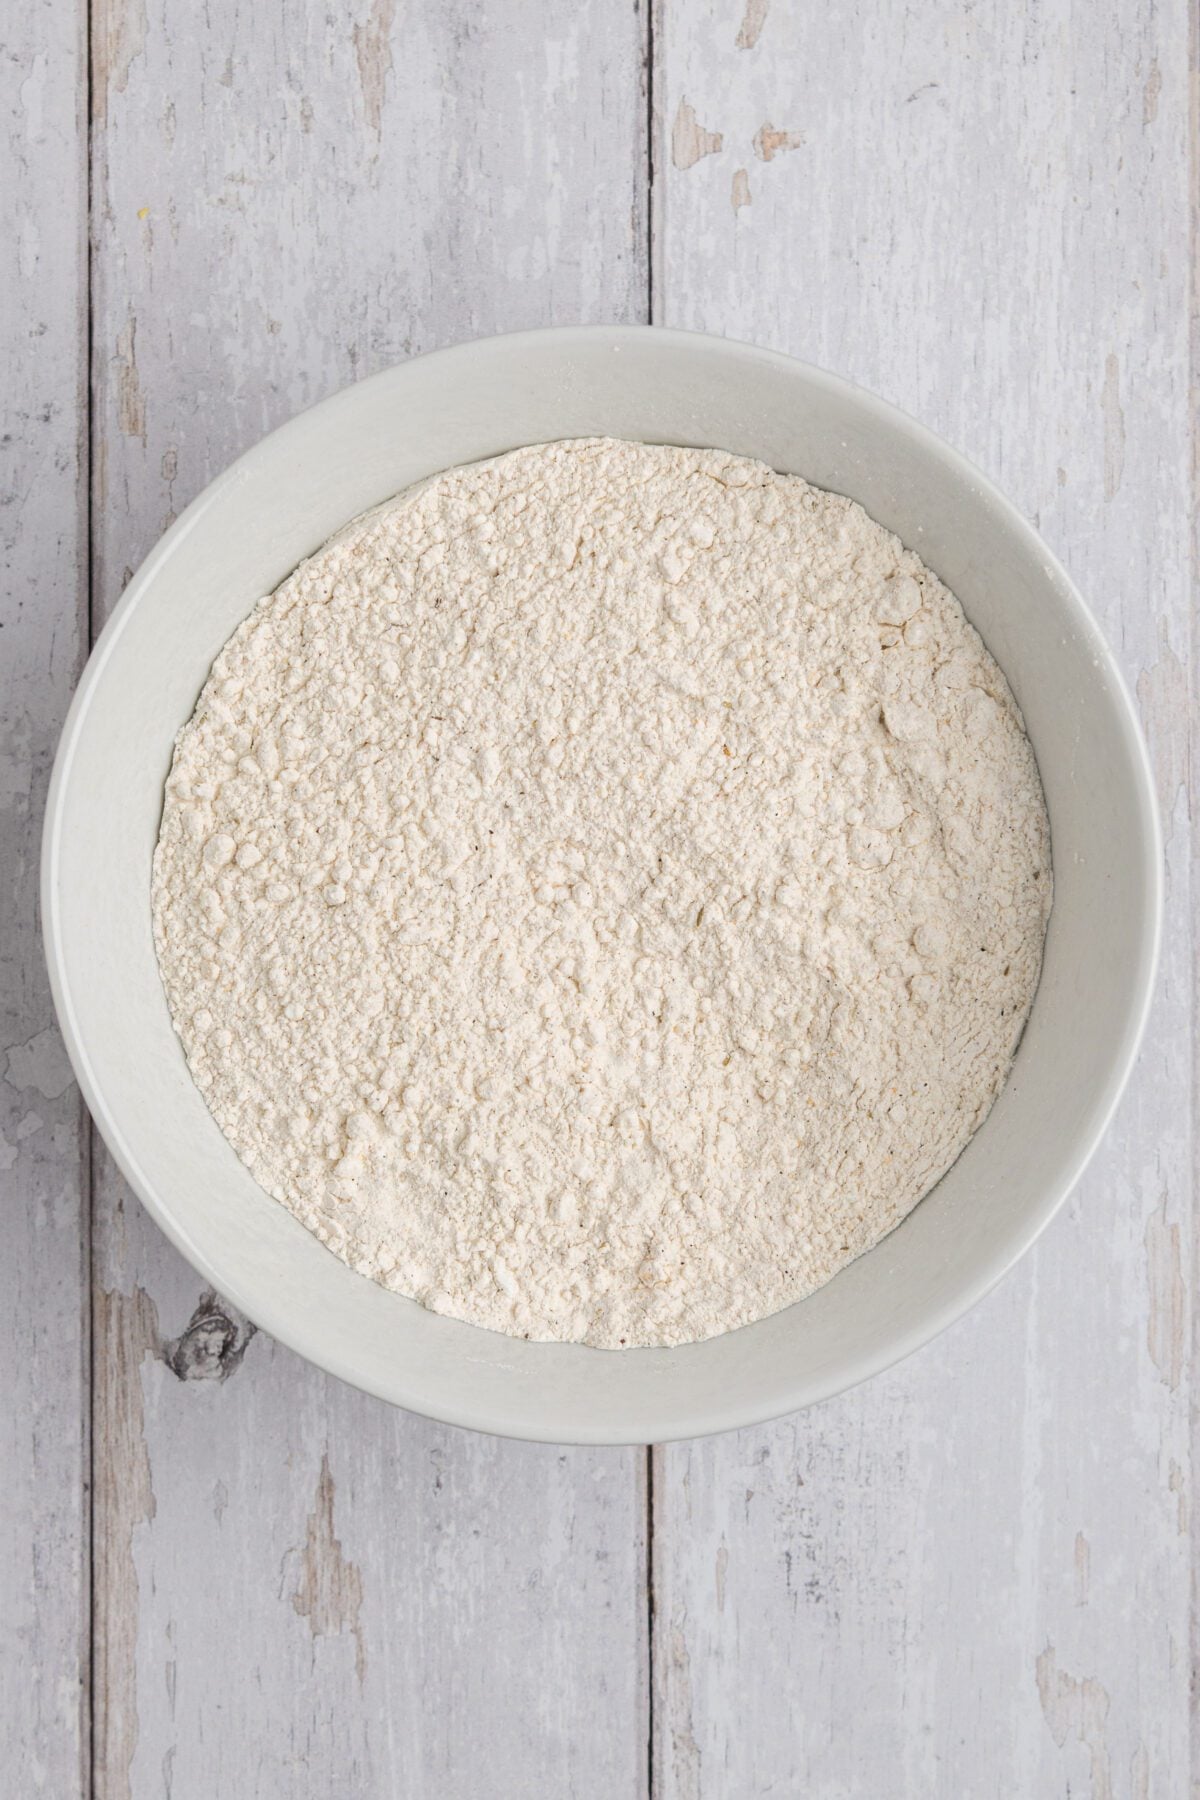
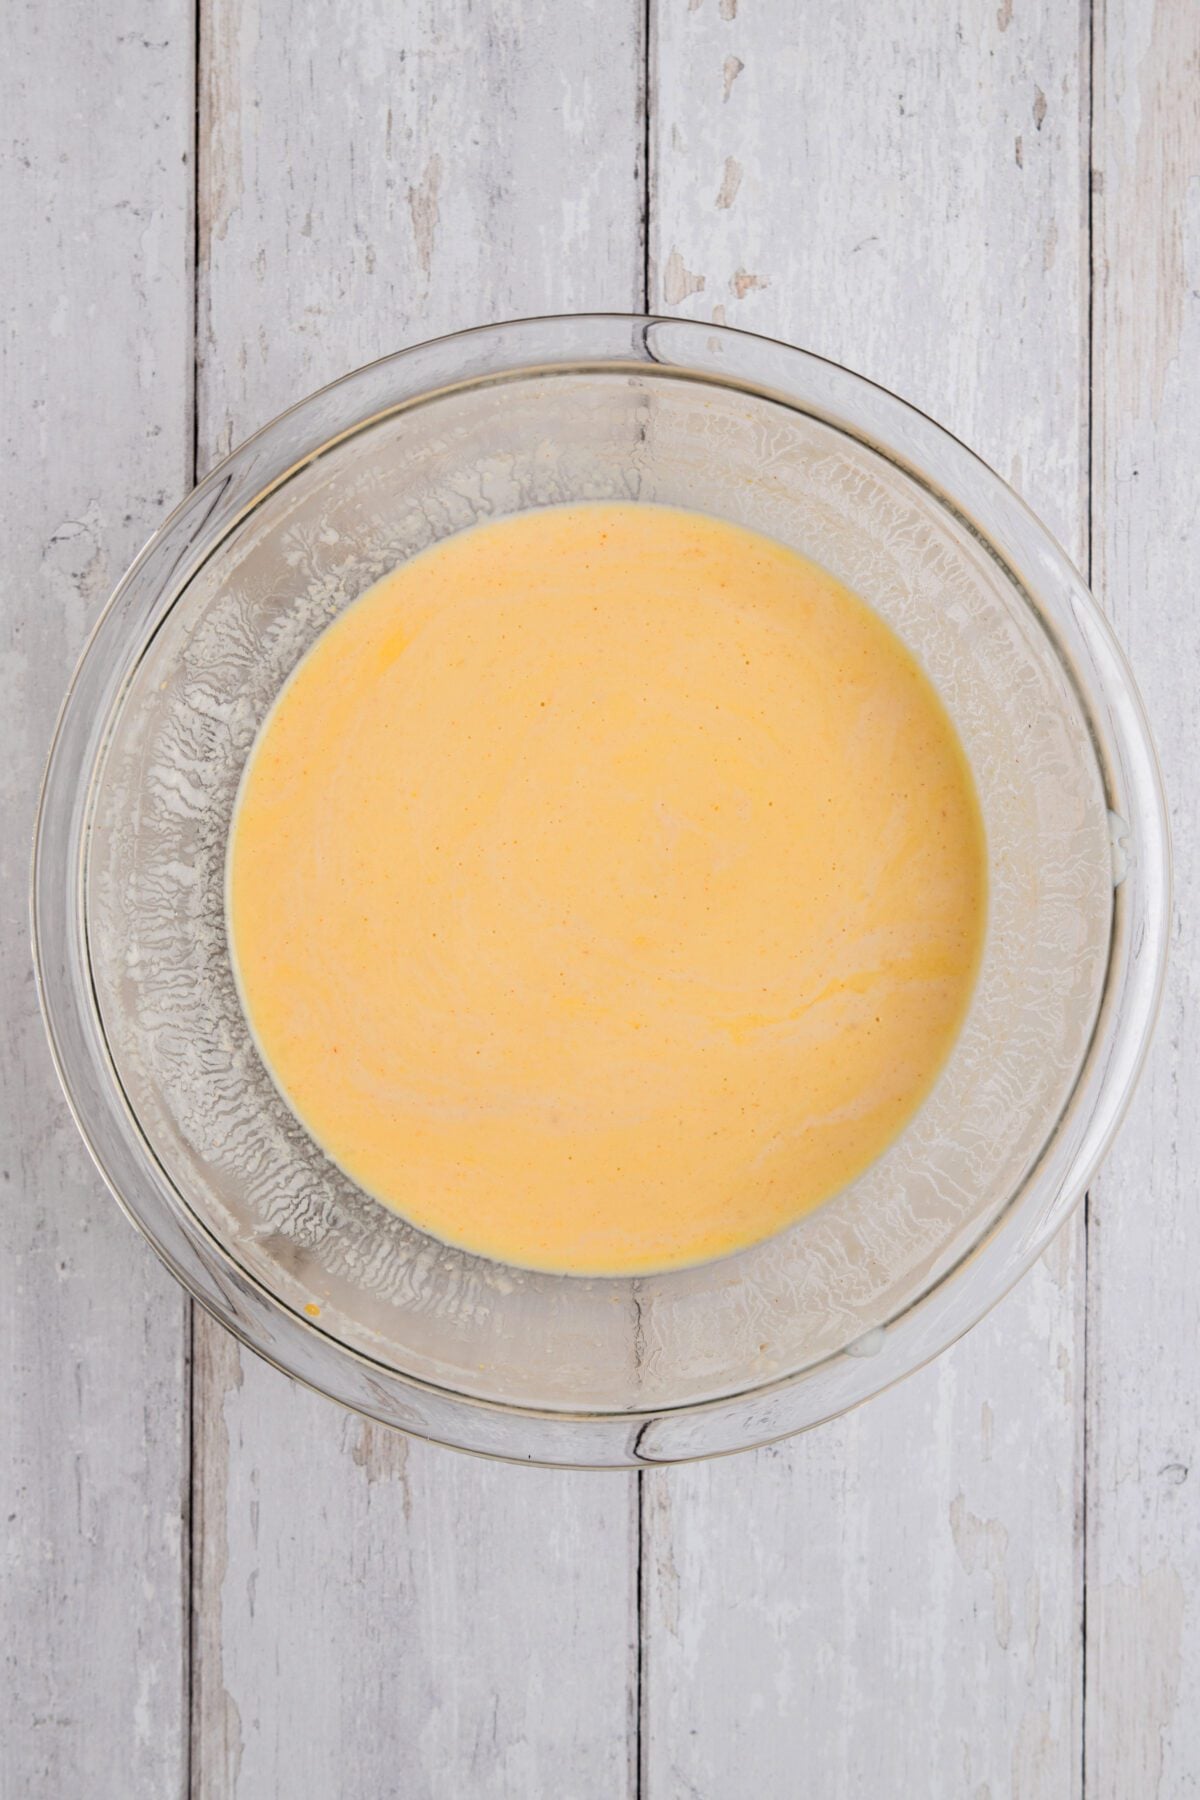
Step 2: Make the breading. Whisk together the seasoned flour mixture, then whisk the eggs into the reserved buttermilk brine.
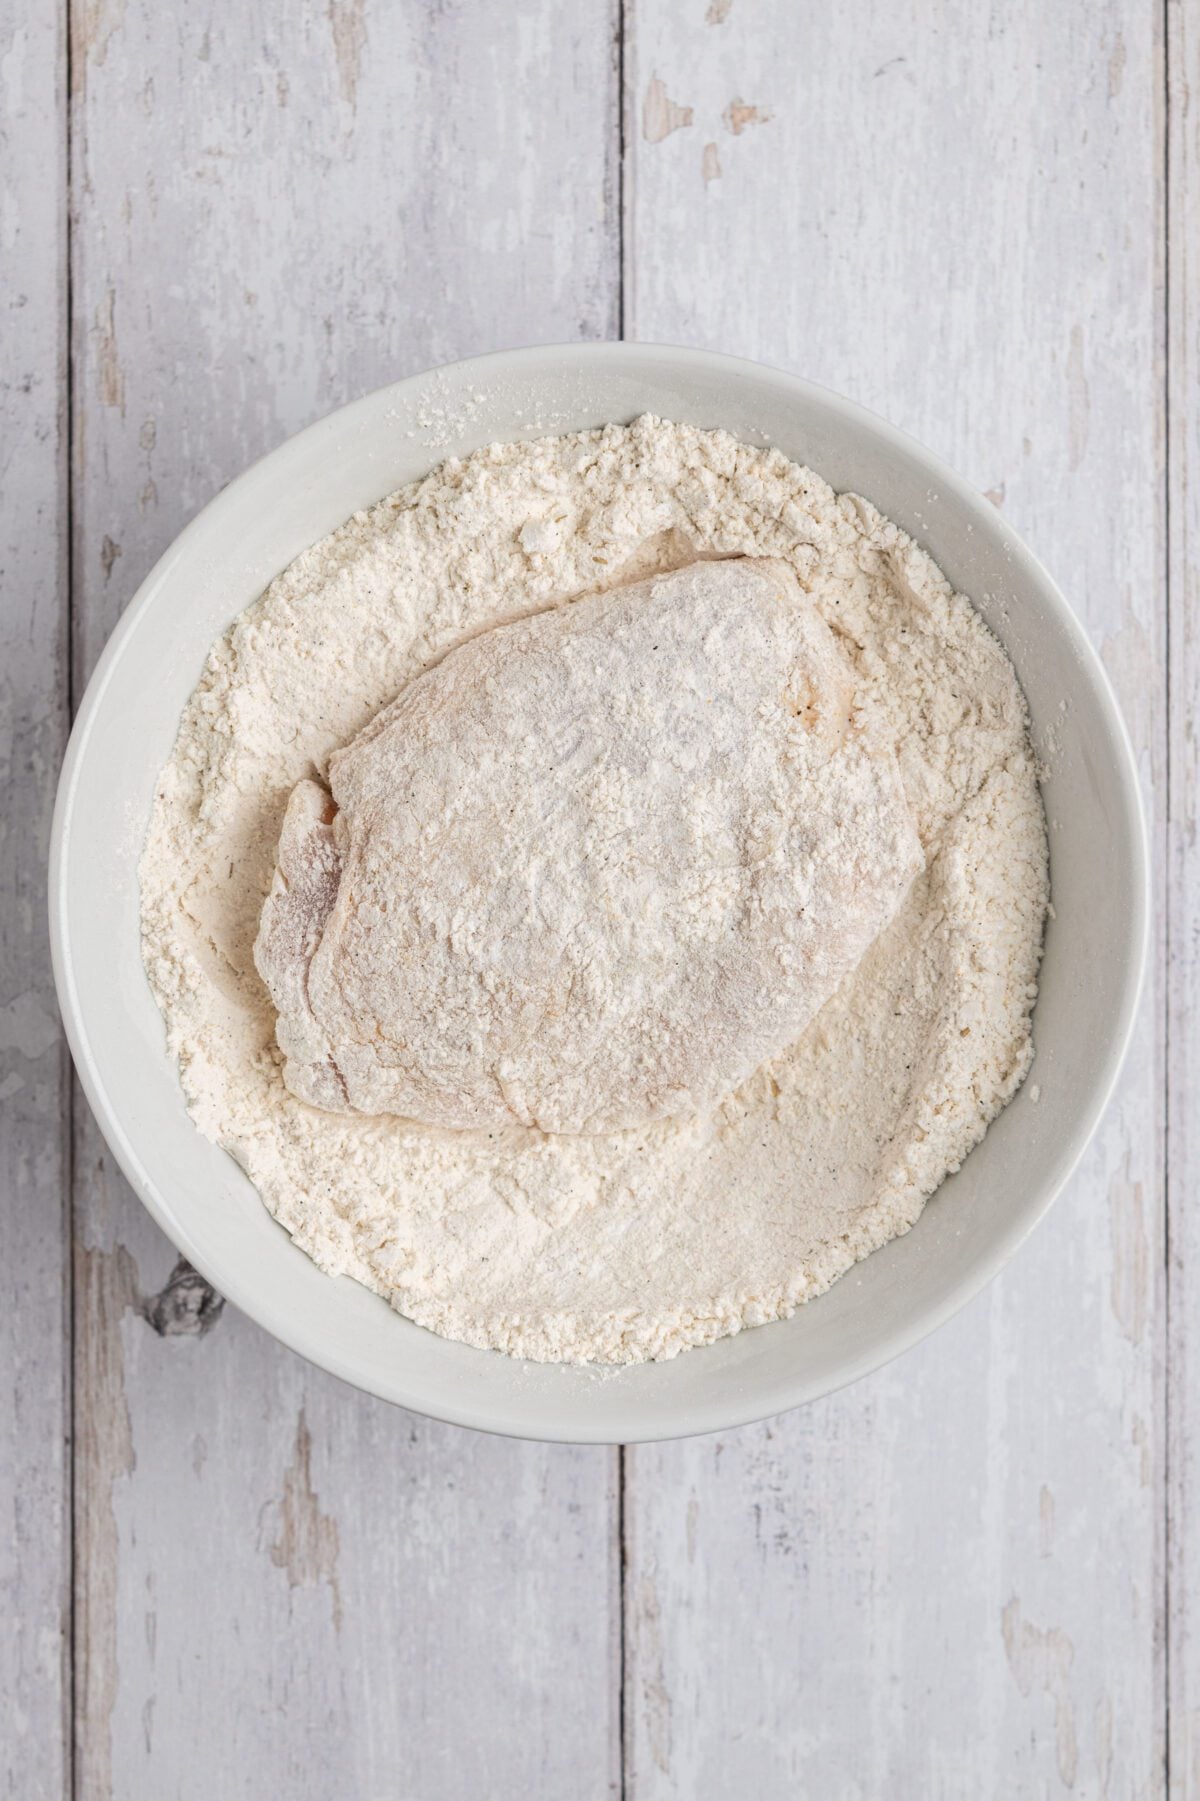
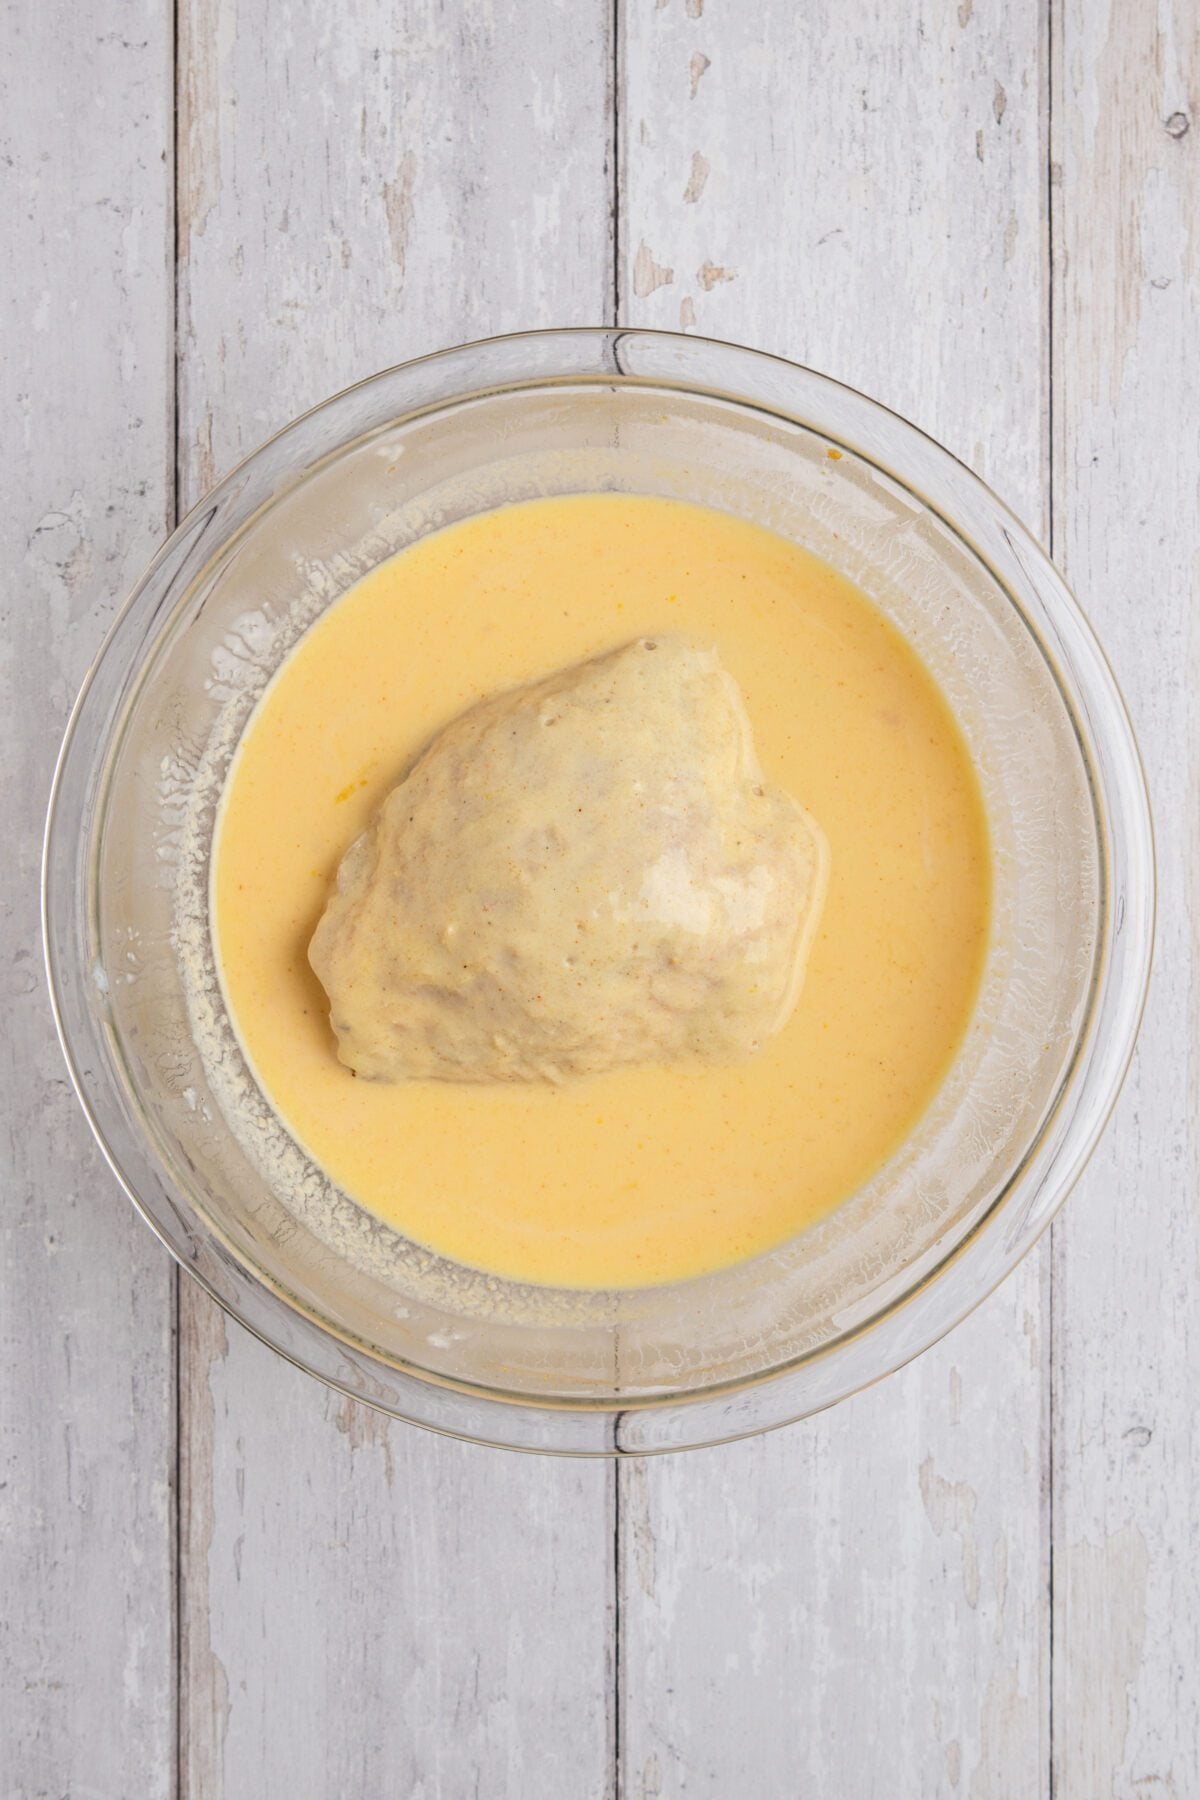
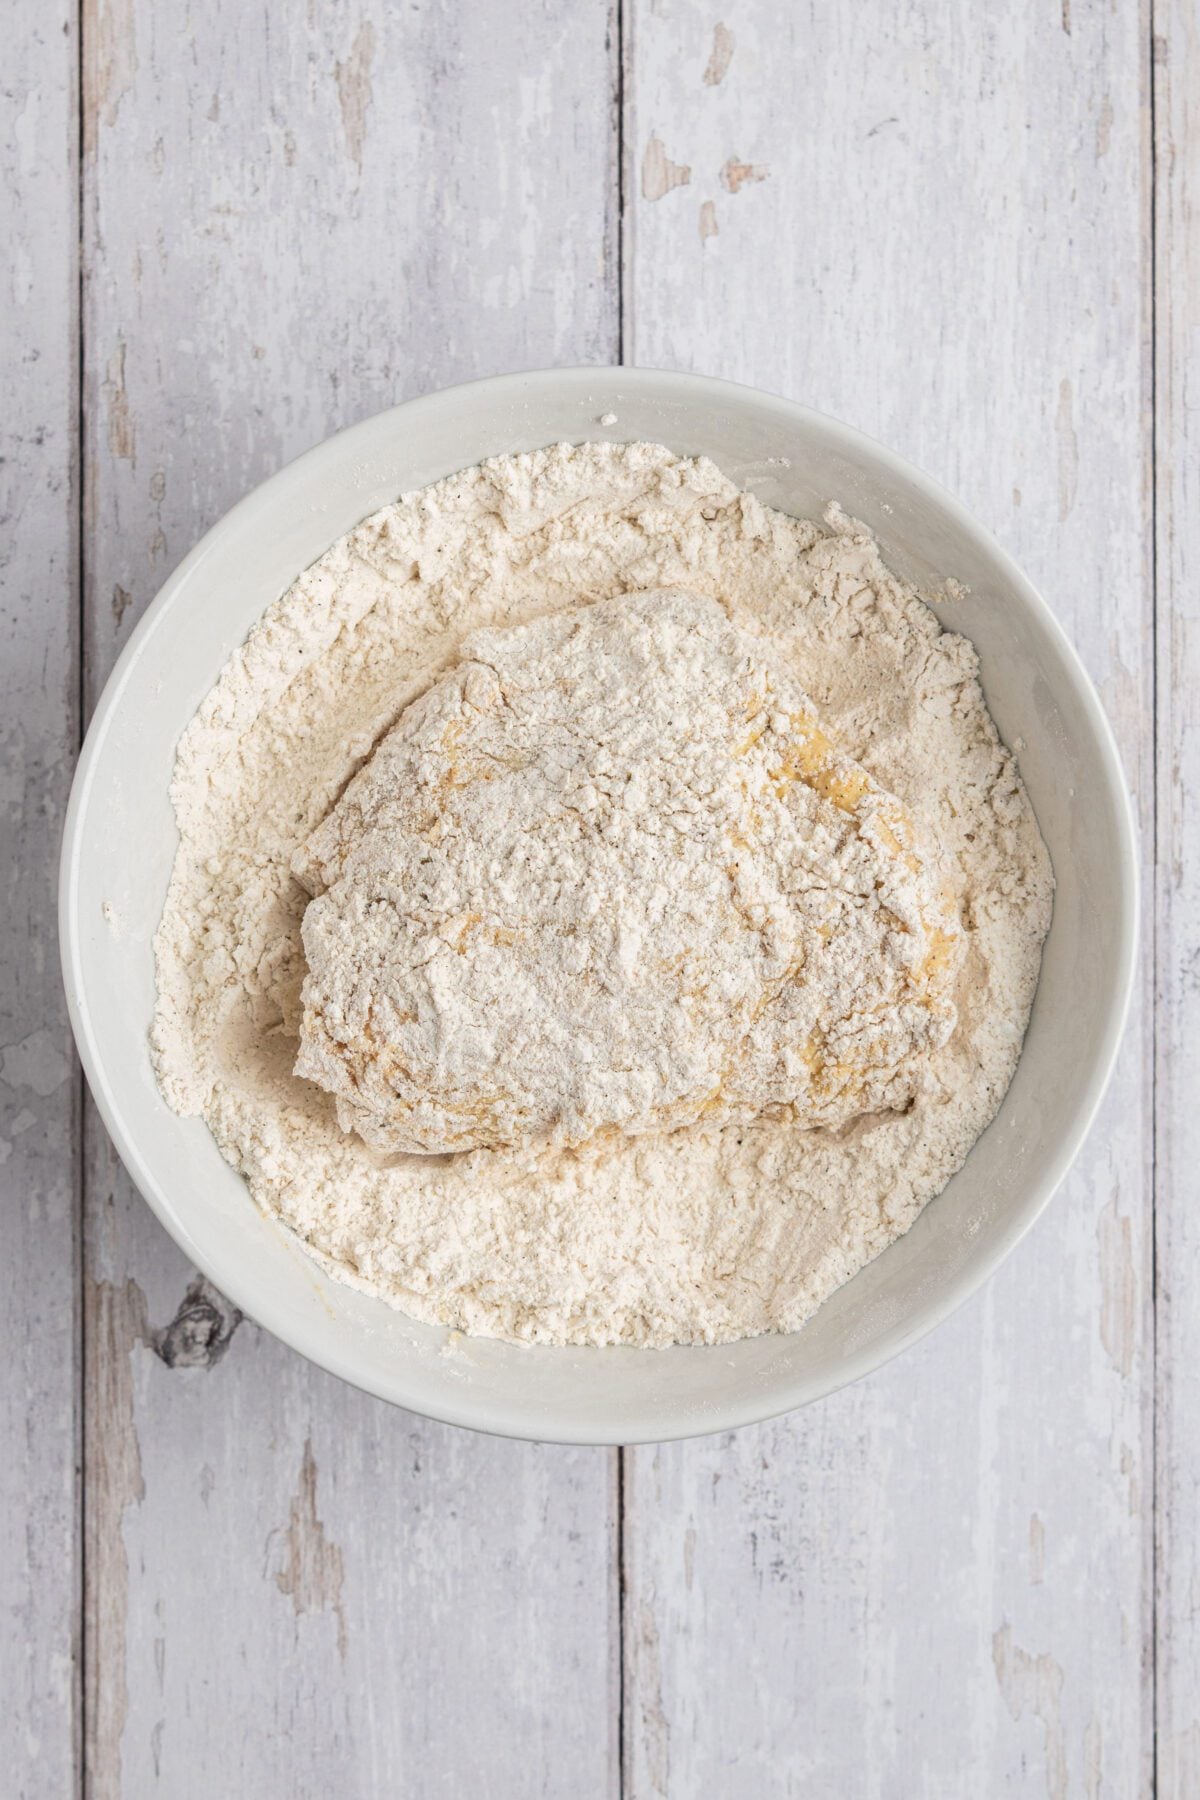
Step 3: Coat the chicken. Give each piece a double coating—flour first, then the egg-buttermilk mixture, then flour again—pressing the final layer on well. Don’t worry if the breading looks a little rough and shaggy rather than perfectly even; that’s a good thing! Those irregular bits are what fry up into some of the crunchiest parts of the crust. Using one hand for the wet mixture and one for the dry will save you from breading your fingers along with the chicken.
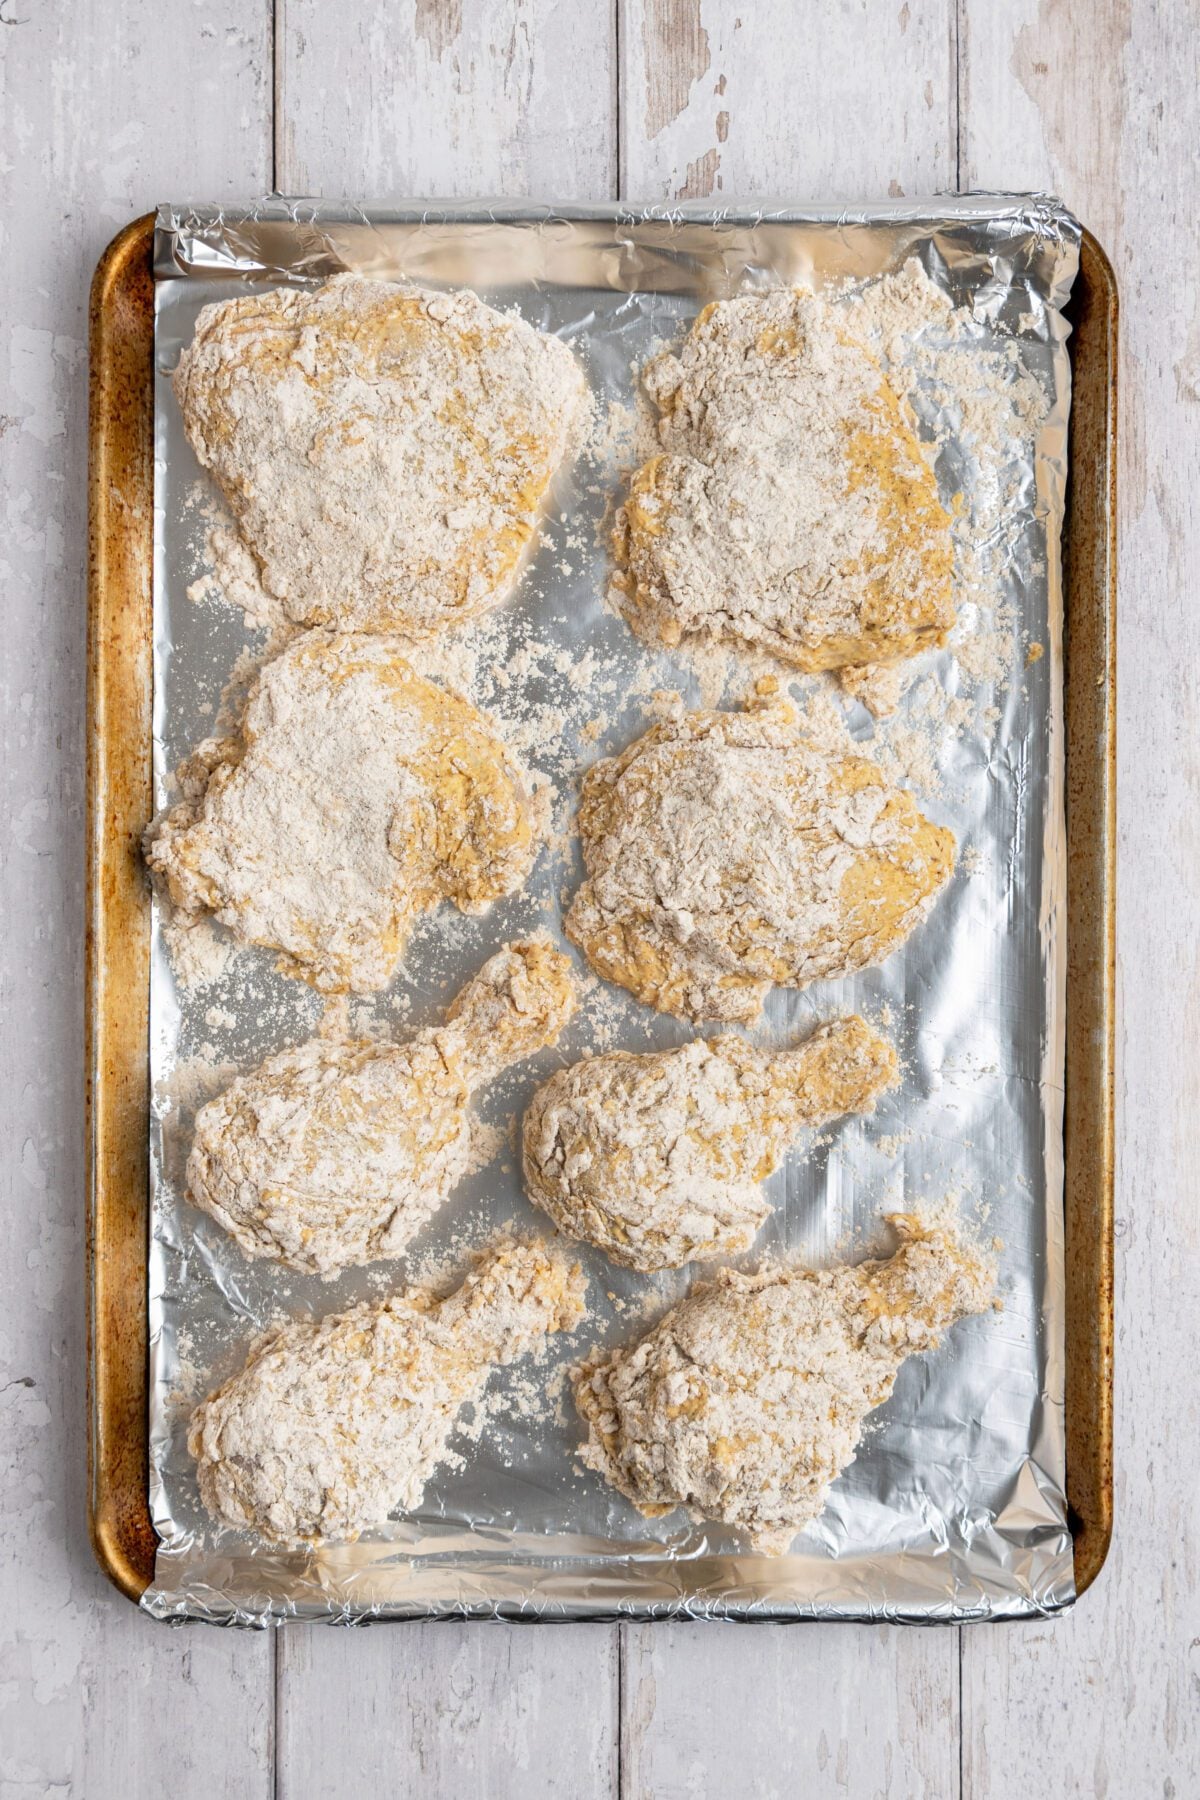
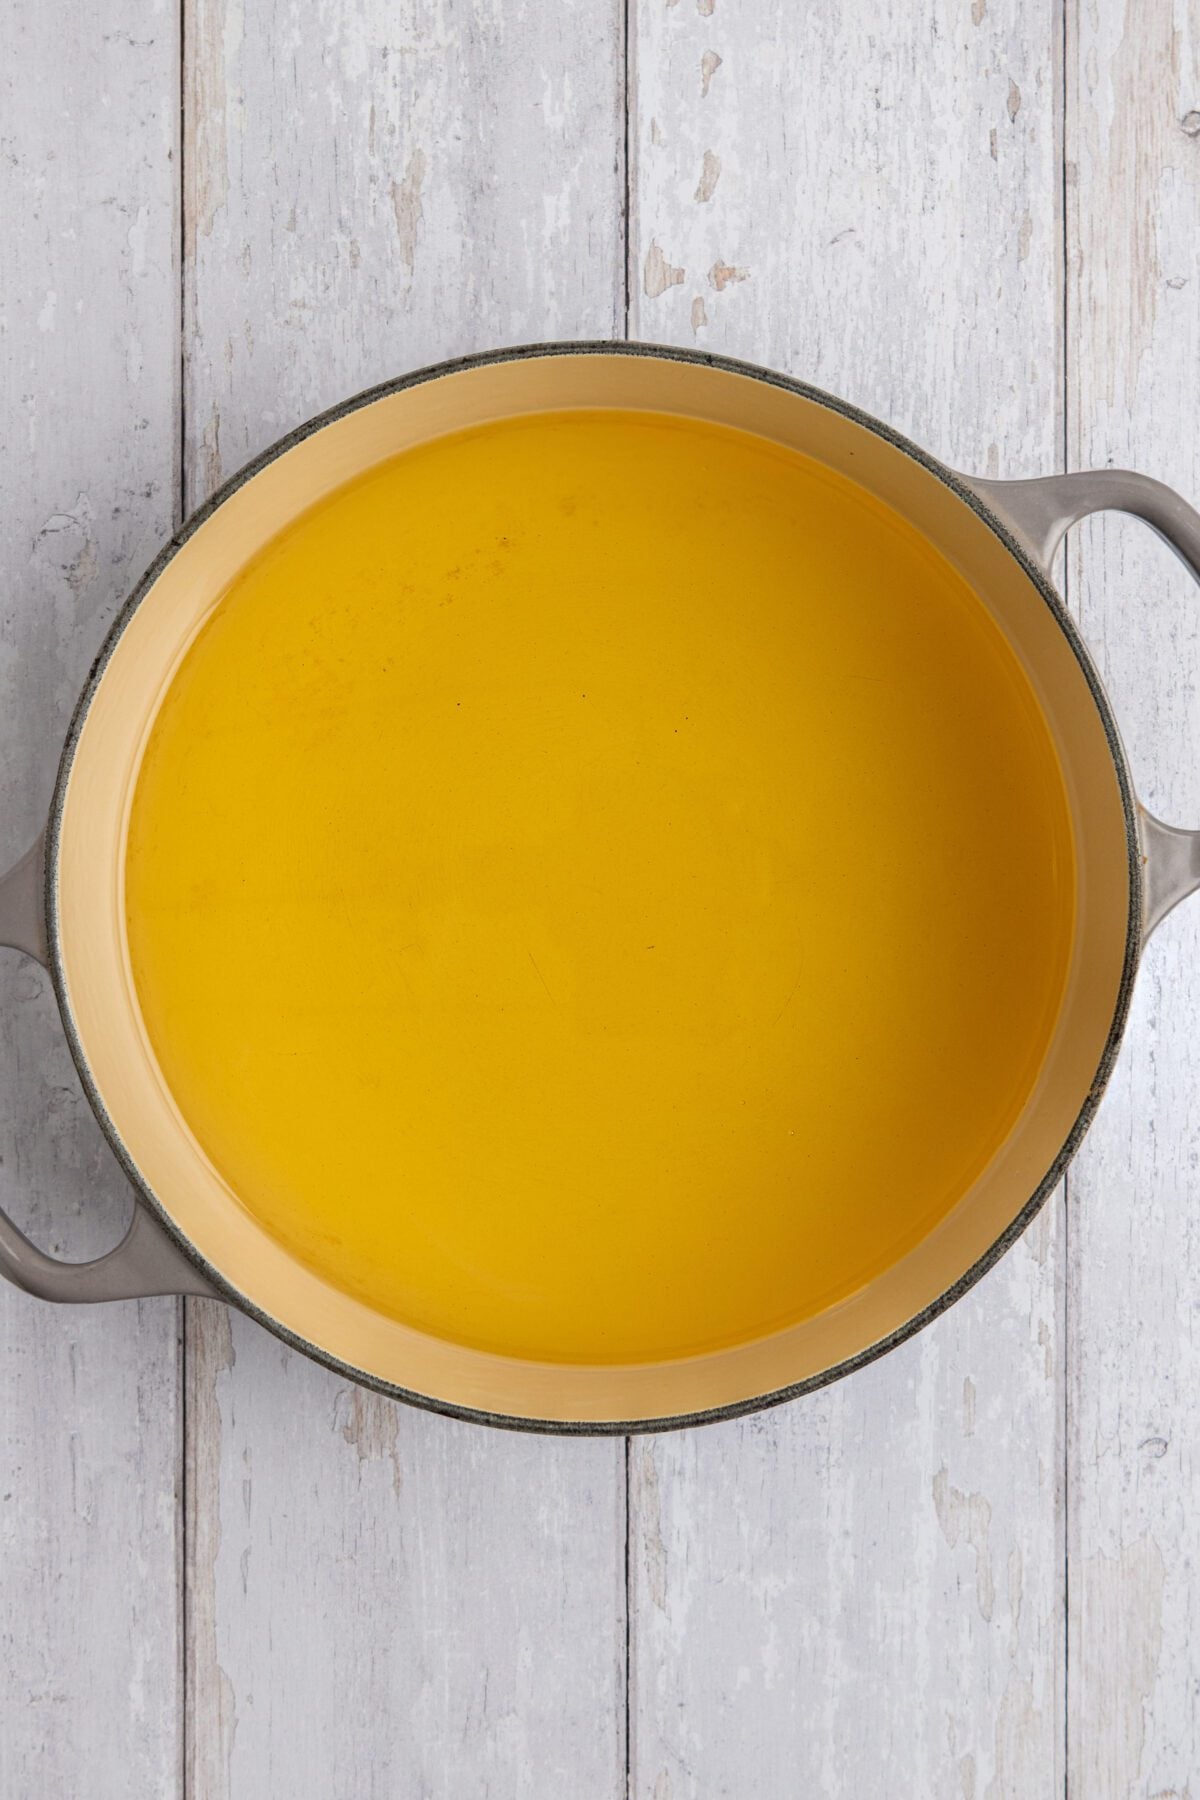
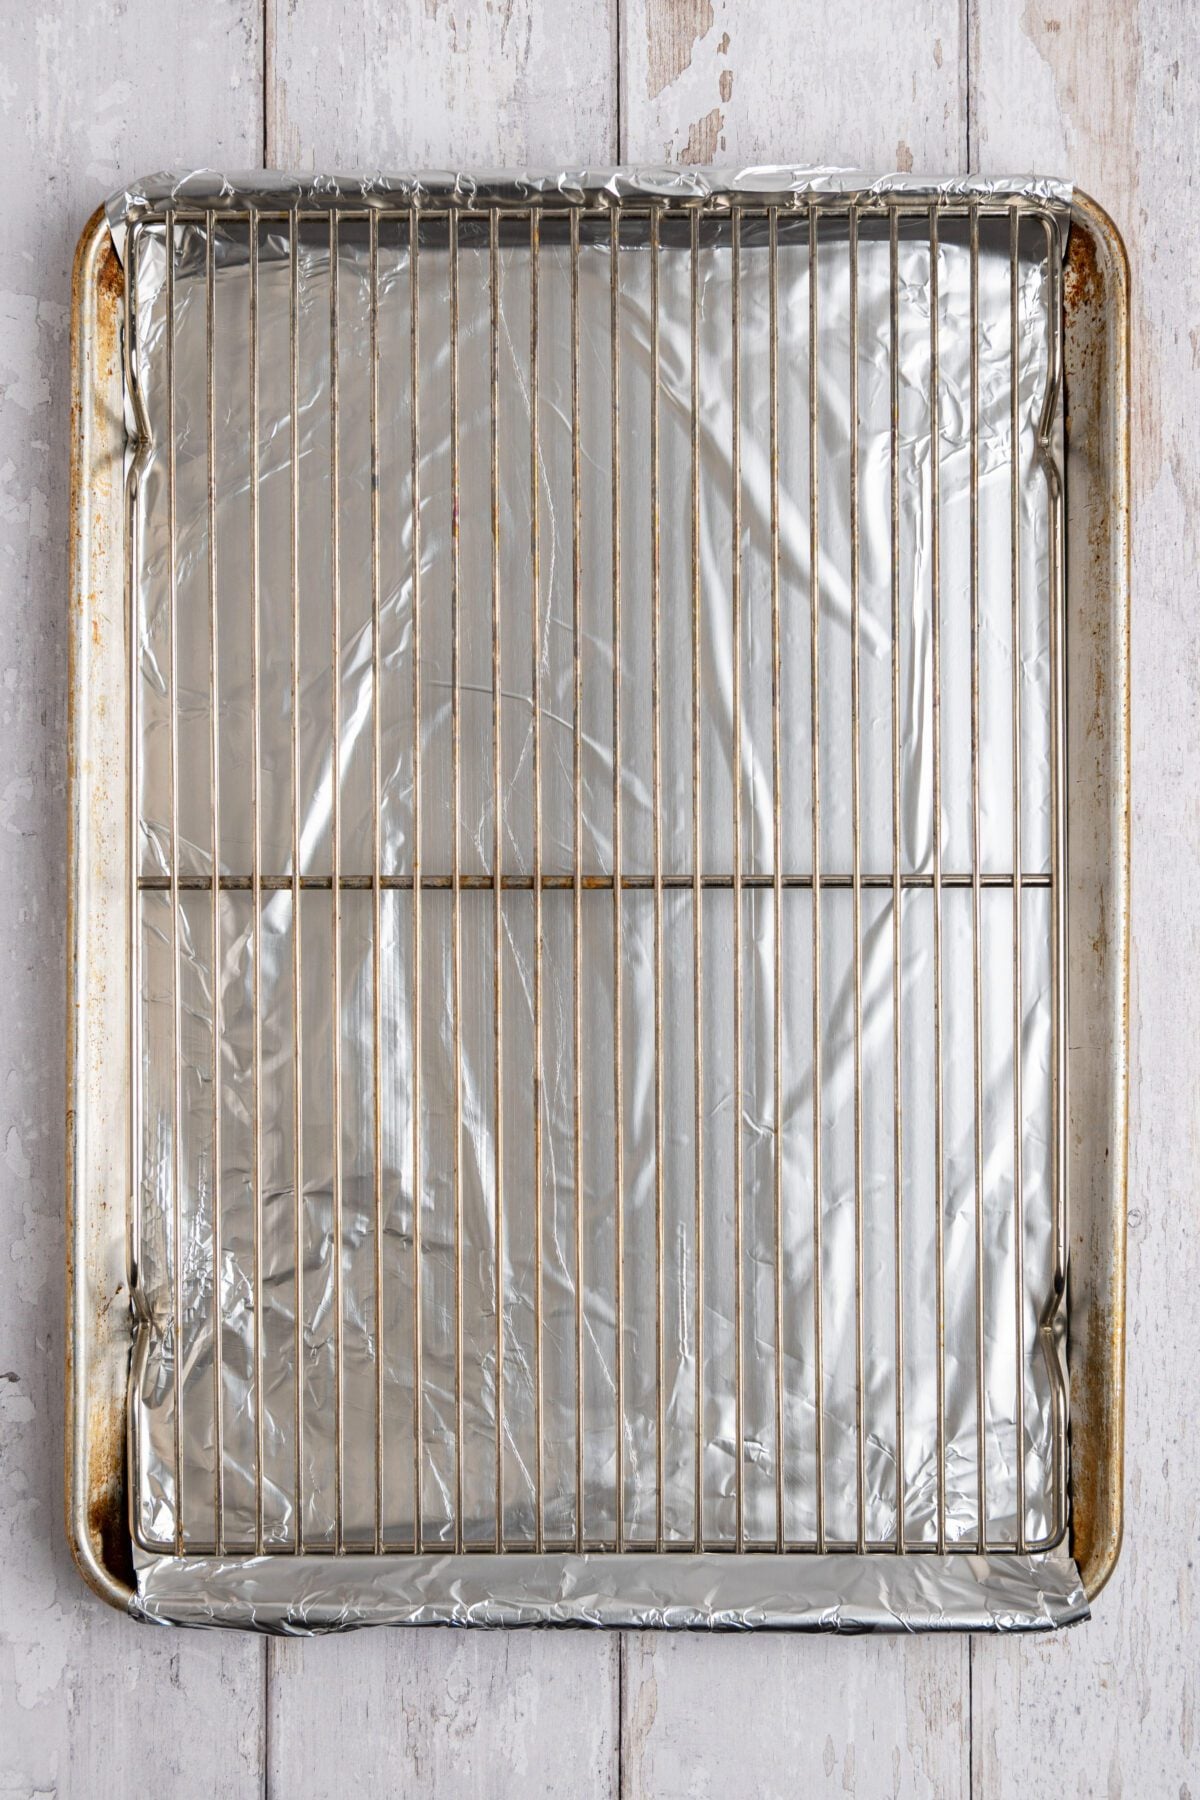
Step 4: Heat the oil. While the coated chicken rests, heat the oil to 350°F in a large Dutch oven or other heavy-bottomed pot with high sides, and set a wire rack over a foil-lined baking sheet. A heavy pot helps maintain a steady oil temperature and contain splatters, while the rack keeps the finished chicken from getting soggy. Resting the coated chicken also helps the breading adhere so it stays put during frying.
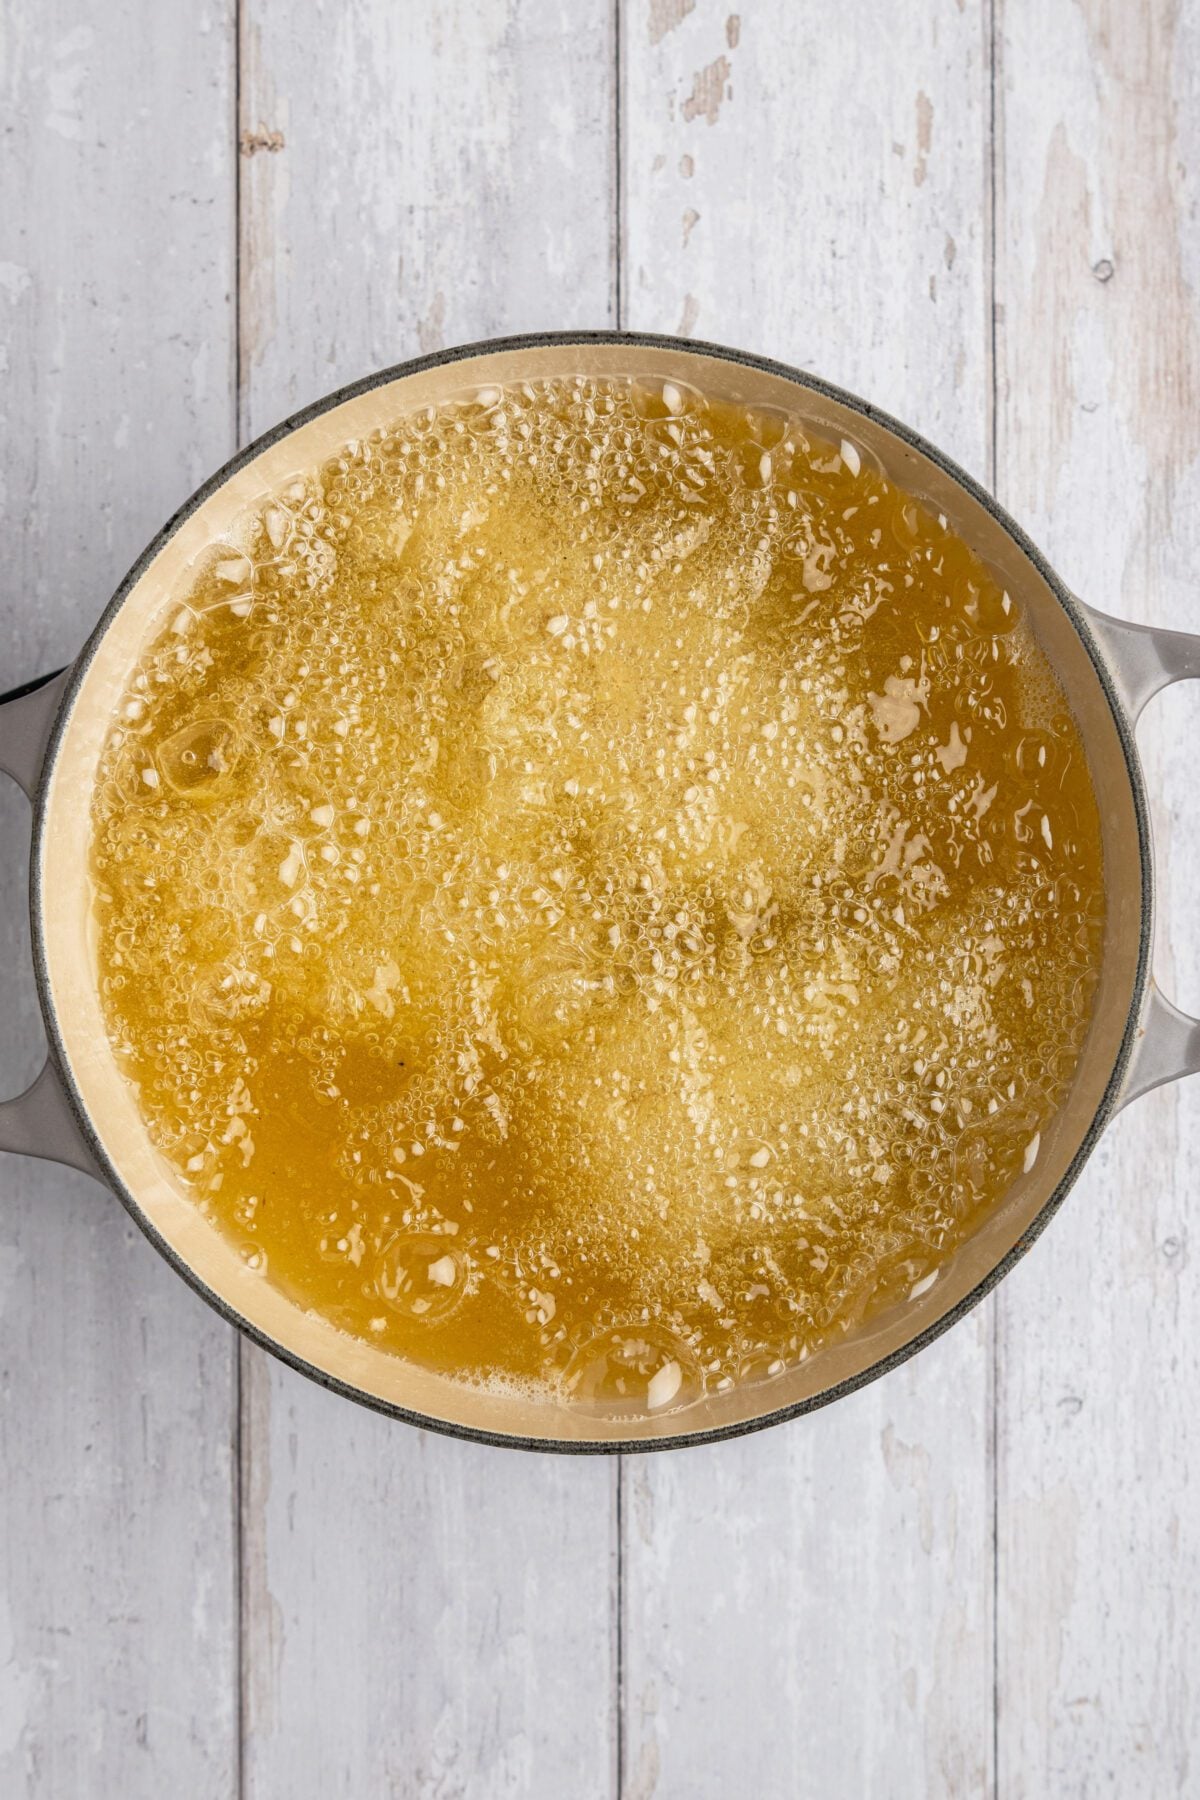
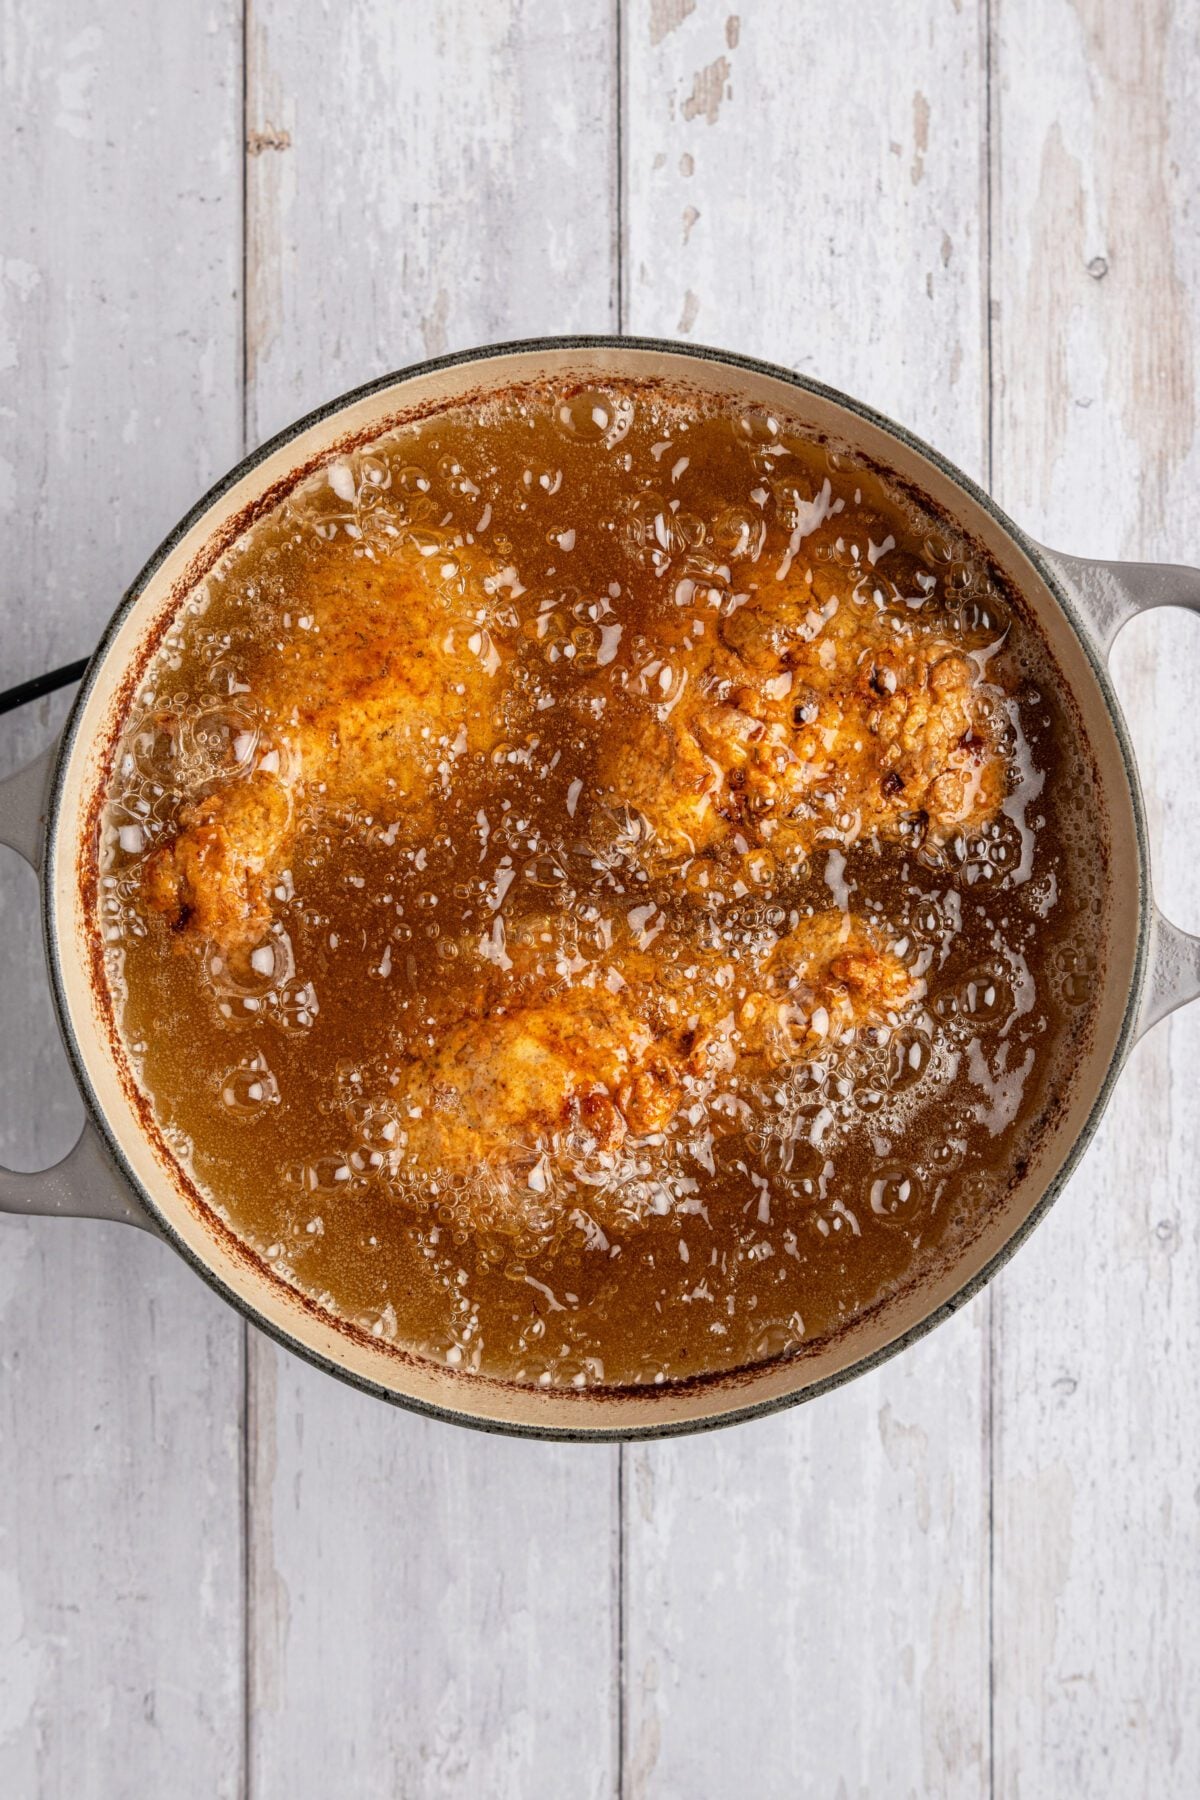
Step 5: Fry the chicken. Fry in small batches, keeping white and dark meat separate so you can pull each when it’s properly cooked (dark meat benefits from cooking to a slightly higher internal temperature, which helps it become more tender). Expect the oil temperature to drop when the chicken goes in, but try to keep it between 310°F and 325°F as it cooks. An instant-read thermometer takes the guesswork out of doneness, especially since the pieces can vary quite a bit in size. If the crust gets dark before the chicken is done, don’t keep frying it; finish the pieces in the oven instead.
Step 6: Keep the chicken warm. Transfer each finished batch to a wire rack and keep it uncovered in a 200°F oven while you finish frying. The rack lets air circulate underneath the chicken, and leaving it uncovered keeps steam from softening that crust you worked so hard for.
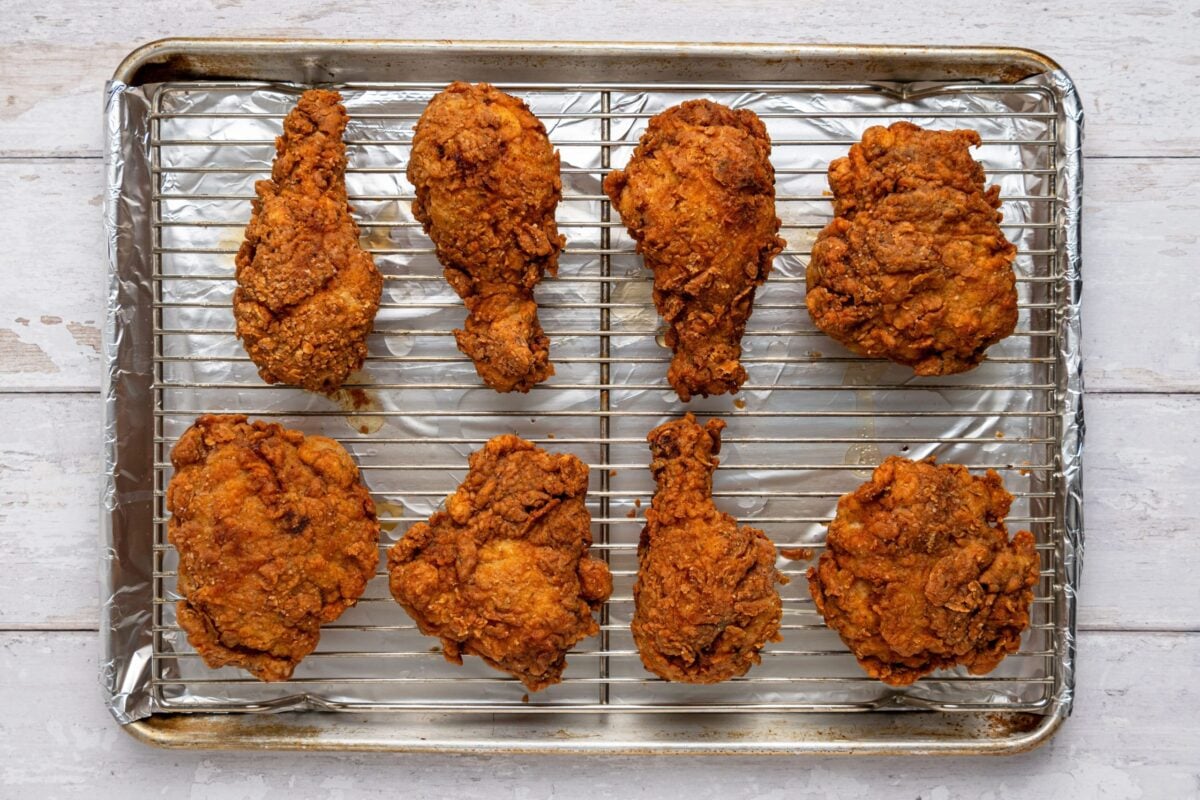
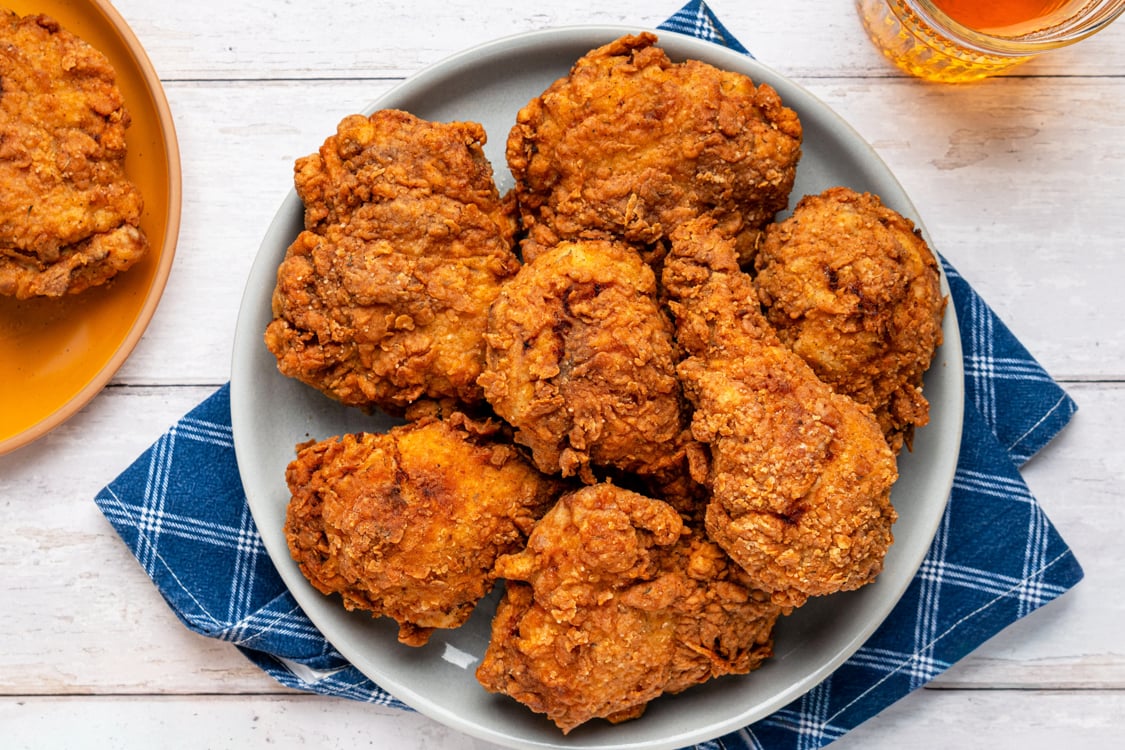
Step 7: Rest and serve. Give the chicken about 10 minutes before digging in. Just like a roast or steak, that short rest gives the juices a chance to settle back into the meat, and it also gives the crust a few minutes to set. Fried chicken is definitely at its best fresh, but leftovers can be refrigerated or frozen.
What To Do With The Frying Oil
Let the oil cool completely, then strain out the crumbs through a fine-mesh sieve. If the oil still smells clean and hasn’t become excessively dark, refrigerate it in a sealed container and reuse it for frying. Otherwise, pour the cooled oil into a sealable disposable container, such as an empty coffee can or takeout container, and throw it away. Never pour frying oil down the drain, as it can build up in the pipes and cause clogs.
Fried Chicken Troubleshooting
- The chicken is coming out greasy: This usually means the oil wasn’t hot enough when the chicken went in, or the pot was overcrowded. Before starting the next batch, give the oil time to come fully back to temperature and fry fewer pieces at once if necessary.
- The breading is slipping off: Leave the chicken alone for a bit once it hits the oil—the coating needs time to set before you start moving or turning the pieces. When you do turn them, handle them gently with tongs so you don’t accidentally pull off that crispy crust.
- The oil is filling up with dark crumbs: Some loose breading in the pot is inevitable, but those bits can burn as you work through the batches. Use a fine-mesh skimmer or slotted spoon to carefully remove them between batches so they don’t give the next round of chicken a burnt taste.
- The chicken is getting too dark before it’s cooked through: This usually means the oil is too hot or the chicken pieces are especially large. If the crust is already deeply browned, transfer the chicken to a wire rack set over a baking sheet and finish it in a 325°F oven until it reaches the proper internal temperature.
More Crispy Chicken Recipes You’ll Love
 Chicken Schnitzel
 Buttermilk Fried Chicken Tenders
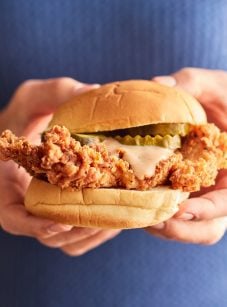 Fried Chicken Sandwiches
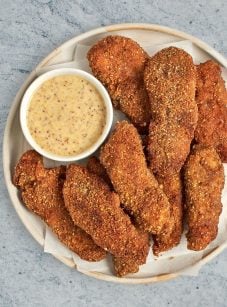 Pecan Crusted Chicken Tenders with Honey Mustard Sauce
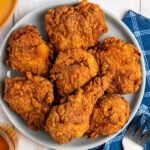
Fried Chicken
Crispy, golden, and perfectly seasoned, this buttermilk fried chicken is everything fried chicken should be.
Servings 4 to 6
Calories 964kcal
Ingredients
For the Chicken and Brine
- 2 cups buttermilk (low-fat is fine)
- 2 tablespoons hot sauce, such as Crystal or Frank’s
- 2 teaspoons garlic powder
- 2 teaspoons onion powder
- 1 teaspoon salt
- 3½ to 4 lb bone-in chicken pieces, with excess or loose flaps of skin trimmed (8 pieces total; see note)
For the Breading
- 2½ cups all-purpose flour
- ½ cup cornstarch
- 1½ teaspoons salt
- 1 teaspoon freshly ground black pepper
- 1 teaspoon garlic powder
- 1 teaspoon onion powder
- 1 teaspoon smoked paprika
- 1 teaspoon dried thyme
- 1 teaspoon Accent seasoning or 1 packet sazon seasoning (optional, but recommended for extra flavor)
For the Coating
- 3 large eggs
For Frying
- About 3 quarts peanut or vegetable oil
US Customary – Metric
Instructions
- Brine the chicken: In a large bowl, whisk together the buttermilk, hot sauce, garlic powder, onion powder, and salt. Add the chicken, turning to coat. Cover and refrigerate for at least 4 hours or overnight.
- Remove the chicken from the refrigerator about 30 minutes before cooking. Lift the pieces from the brine, letting the excess drip off, then pat dry with paper towels to remove any excess surface moisture. Reserve the brine.
- Prepare the breading: In a large bowl, whisk together the flour, cornstarch, salt, pepper, garlic powder, onion powder, smoked paprika, thyme, and Accent/sazon seasoning (if using). Add the eggs to the reserved brine and whisk to combine. Line a baking sheet with aluminum foil.
- Coat the chicken: Set up a breading station with the flour mixture, egg-brine mixture, and prepared baking sheet. Working with one or two pieces at a time, dredge the chicken in the flour, then dip it into the egg-brine mixture, and dredge again in the flour, pressing firmly so the coating adheres. (Pro tip: Use one hand for the wet mixture and one hand for the dry mixture—it helps prevent “breading” your hands.) Place the breaded chicken on the prepared baking sheet and let it rest for 15 minutes while you heat the oil.
- Heat the oil: Add the oil to a large (at least 5.5-qt/5.5-L) Dutch oven until it measures about 2½ in (5 cm) deep. Heat over medium heat to 350°F (175°C). Place a wire rack over a second rimmed foil-lined baking sheet for easy cleanup and set aside.
- Fry the chicken: Working in batches and without overcrowding, carefully lower 3 to 4 pieces of chicken into the hot oil (it’s best to cook white and dark meat in separate batches). Adjust the heat as needed to maintain the oil between 310°F and 325°F (154°C and 163°C). Fry, turning occasionally, until deep golden brown and cooked through, 8 to 12 minutes for white meat and 10 to 14 minutes for dark meat, depending on size. The internal temperature should reach 165°F (74°C) for breasts and 175 to 180°F (80 to 82°C) for thighs and drumsticks. (You can remove the chicken from the oil just before it reaches the target temperature, as it will continue to cook slightly as it rests.) Transfer to the prepared rack. Pro tip: If the chicken is browning too quickly before it’s cooked through, transfer it to a wire rack set over a baking sheet and finish in a 325°F (165°C) oven until done. This will cook the chicken through without over-browning the crust.
- Return the oil to 350°F (175°) between batches and repeat with the remaining chicken. As each batch finishes, transfer the chicken to the wire rack. Place in a 200°F (95°C) oven to stay warm and crisp while you fry the remaining pieces. Leave the chicken uncovered so the crust stays crunchy. (The chicken can hold like this for up to 45 minutes.)
- Rest and serve: Let the chicken rest for 10 minutes before serving, allowing the crust to set and the juices to redistribute.
Notes
- If using bone-in chicken breasts, halve them crosswise so they cook more evenly with the other pieces.
- Nutritional information was calculated assuming that approximately ¼ cup of the oil is absorbed into the chicken while frying.
- Make-Ahead/Freezing Instructions: Fried chicken is best served fresh, but leftovers reheat well. Store in the refrigerator and reheat on a rack in a 350°F (175°C) oven until hot and crisp, about 15 minutes. To freeze, let cool completely, then freeze in an airtight container. Reheat from frozen in a 350°F oven for 30 to 35 minutes.
Nutrition
Per serving (6 servings)Calories: 964kcal | Carbohydrates: 57g | Protein: 61g | Fat: 53g | Saturated Fat: 14g | Cholesterol: 295mg | Sodium: 1051mg | Fiber: 2g | Sugar: 5g
Nutritional Data Disclaimer
This website is written and produced for informational purposes only. I am not a certified nutritionist and the nutritional data on this site has not been evaluated or approved by a nutritionist or the Food and Drug Administration. Nutritional information is offered as a courtesy and should not be construed as a guarantee. The data is calculated through an online nutritional calculator, Edamam.com. Although I do my best to provide accurate nutritional information, these figures should be considered estimates only. Varying factors such as product types or brands purchased, natural fluctuations in fresh produce, and the way ingredients are processed change the effective nutritional information in any given recipe. Furthermore, different online calculators provide different results depending on their own nutrition fact sources and algorithms. To obtain the most accurate nutritional information in a given recipe, you should calculate the nutritional information with the actual ingredients used in your recipe, using your preferred nutrition calculator.
The post Fried Chicken appeared first on Once Upon a Chef.