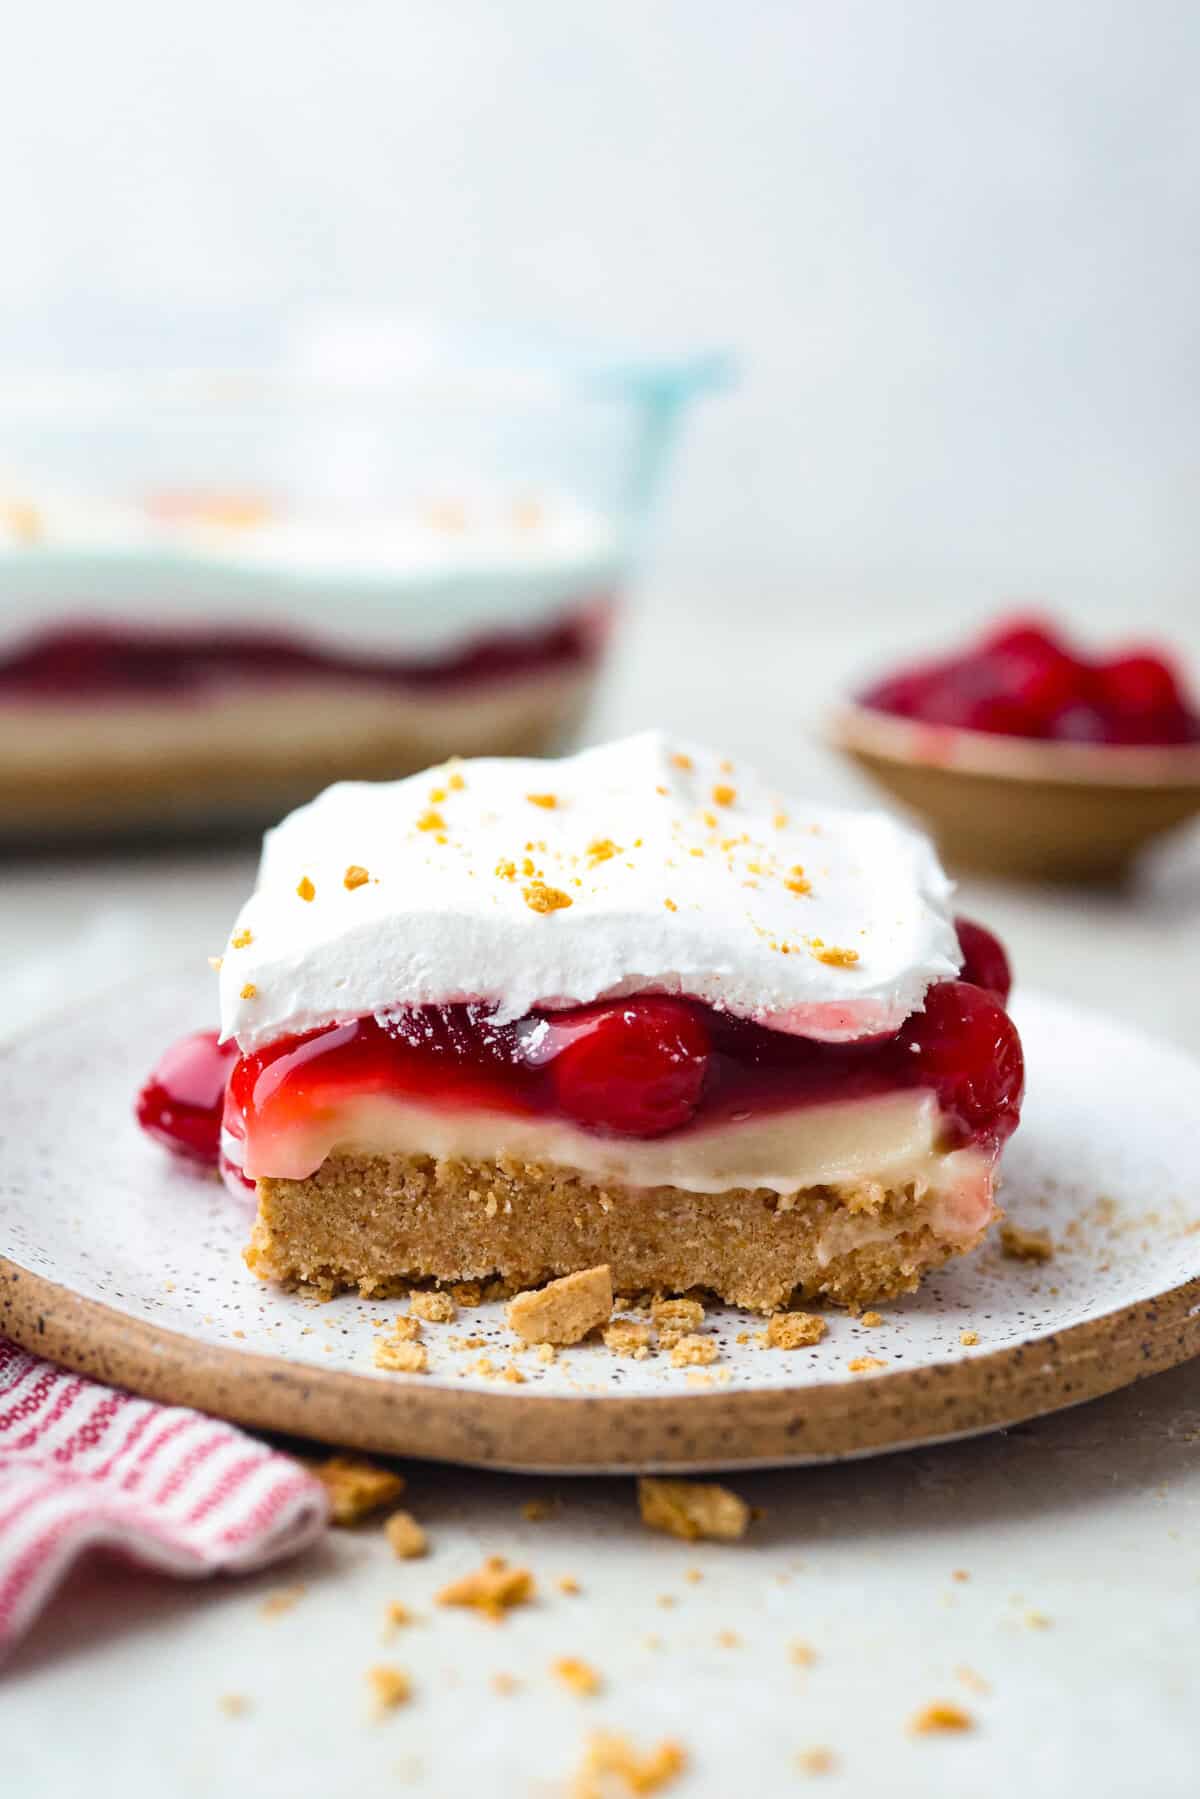
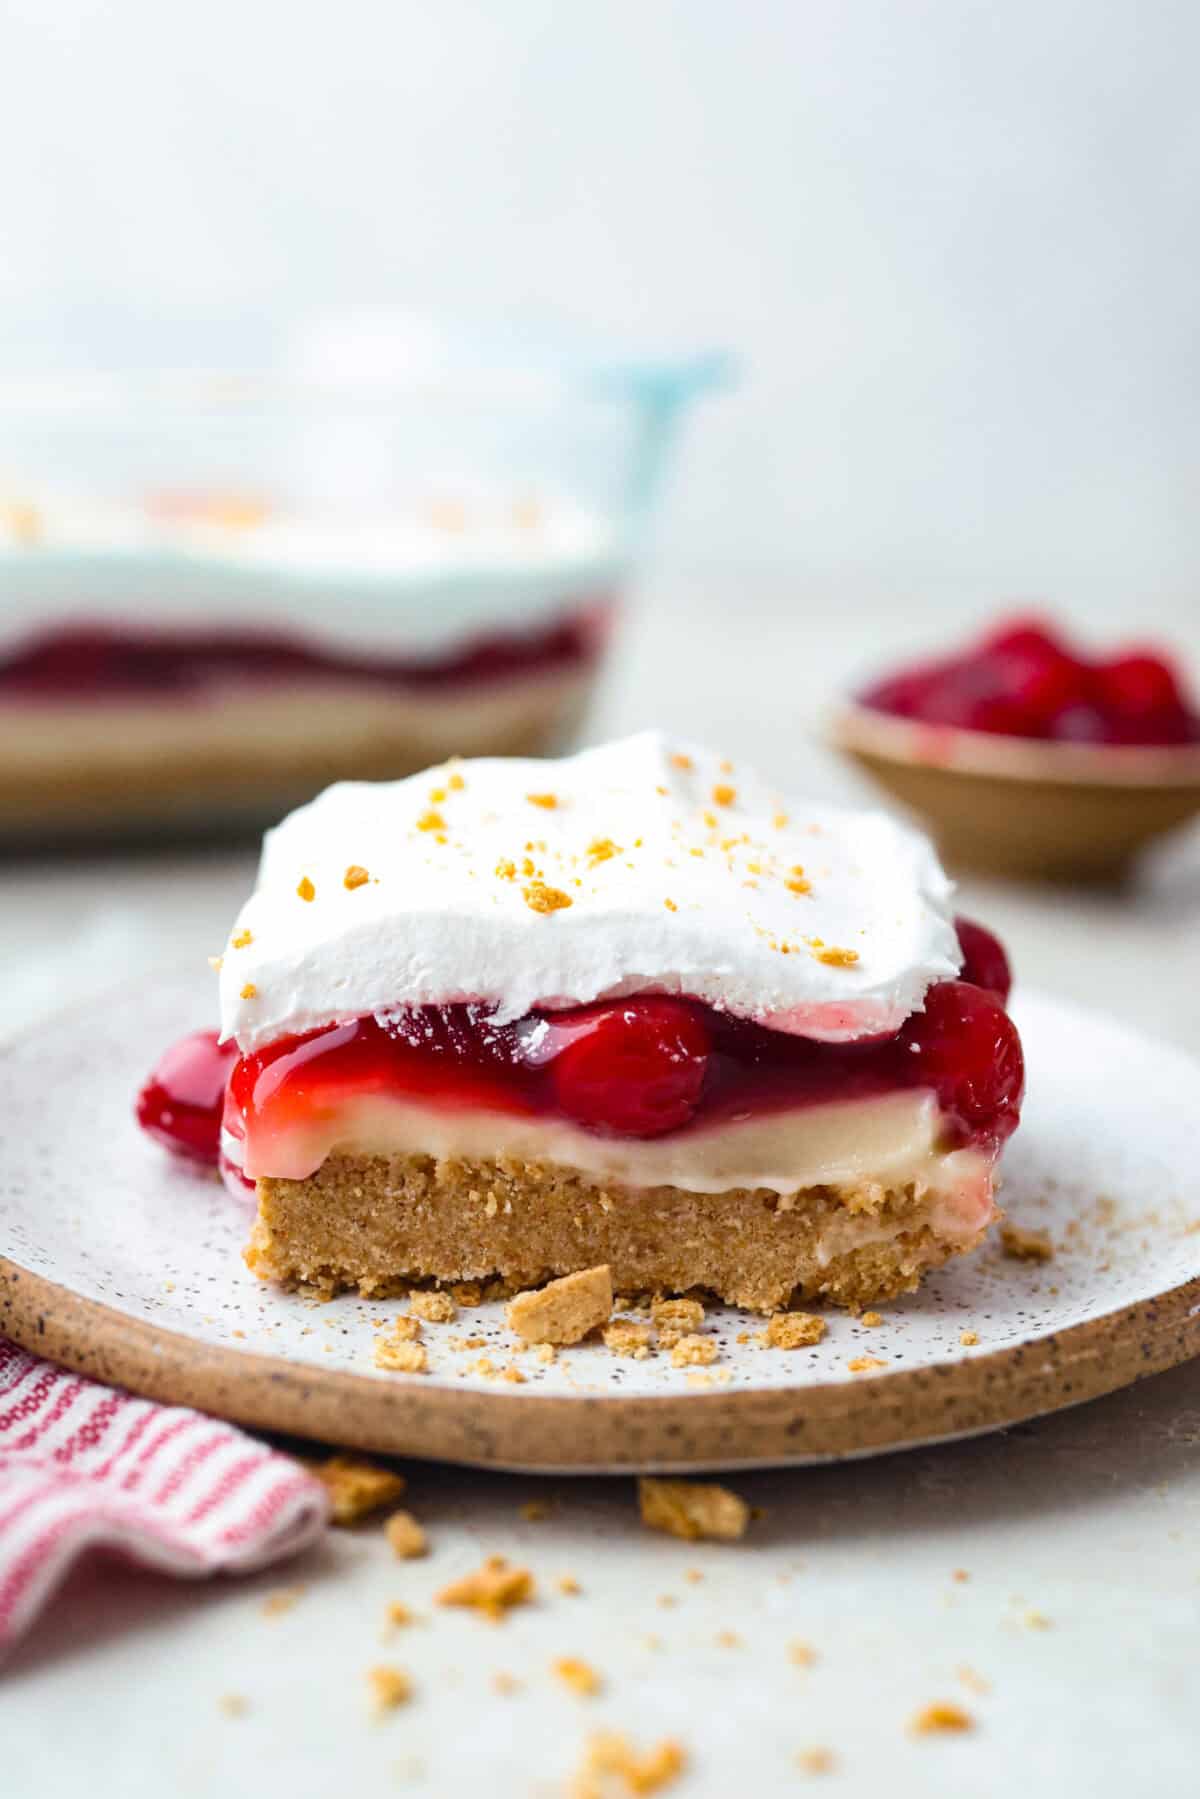
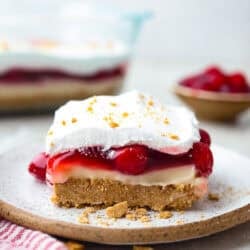
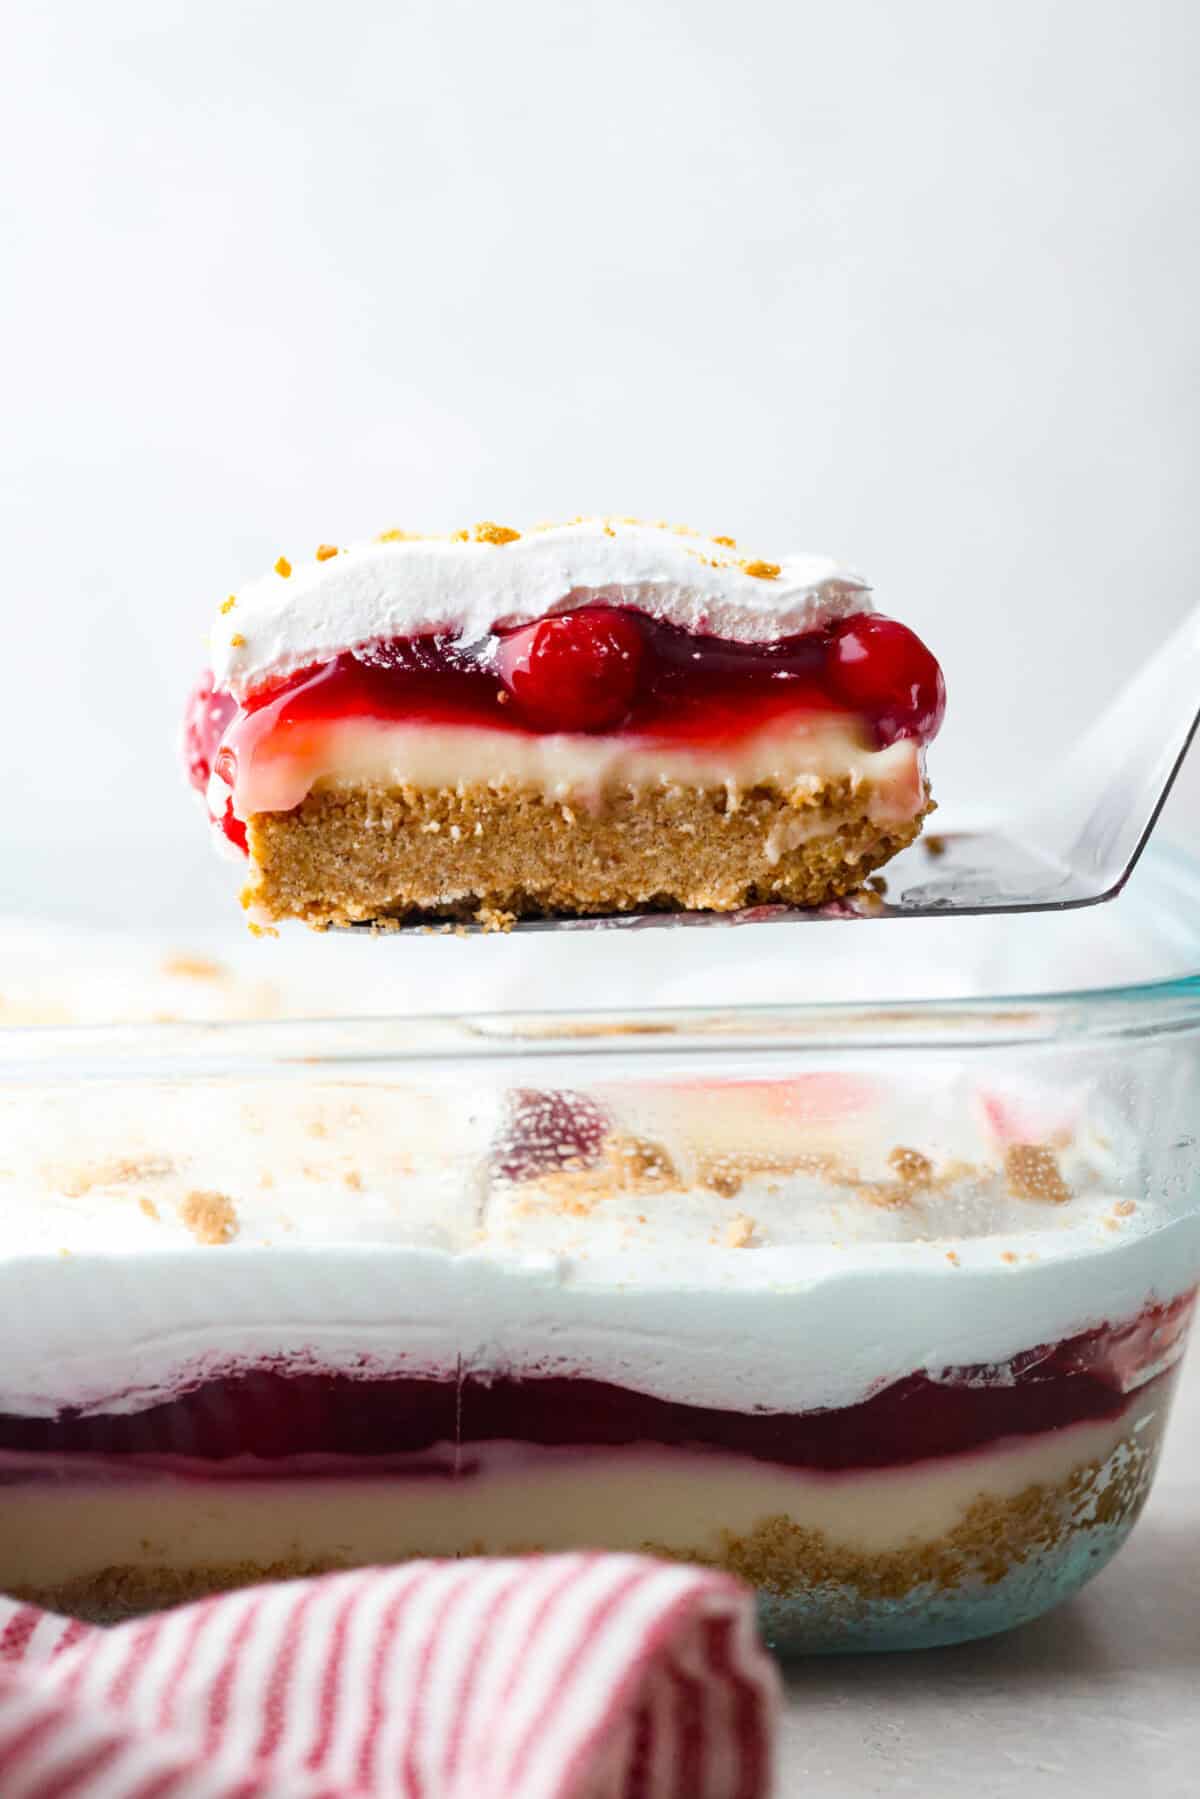
My cherry cheesecake lush is rich, creamy, and incredibly easy to make. With simple layers of graham cracker crust, cheesecake filling, juicy cherries, and whipped topping, it’s the perfect no-bake dessert for any occasion.
Creamy, Dreamy, and So Easy
No Oven Needed: Let the fridge do the work! This easy no-bake dessert is perfect for warm days when you don’t want to turn on the oven.
Make-Ahead Friendly: It gets even better as it chills, so it’s great for holidays, parties, or anytime you want dessert ready to go.
Always a Hit: Creamy, sweet, and full of cherry cheesecake flavor, this is the kind of dessert everyone goes back for seconds!
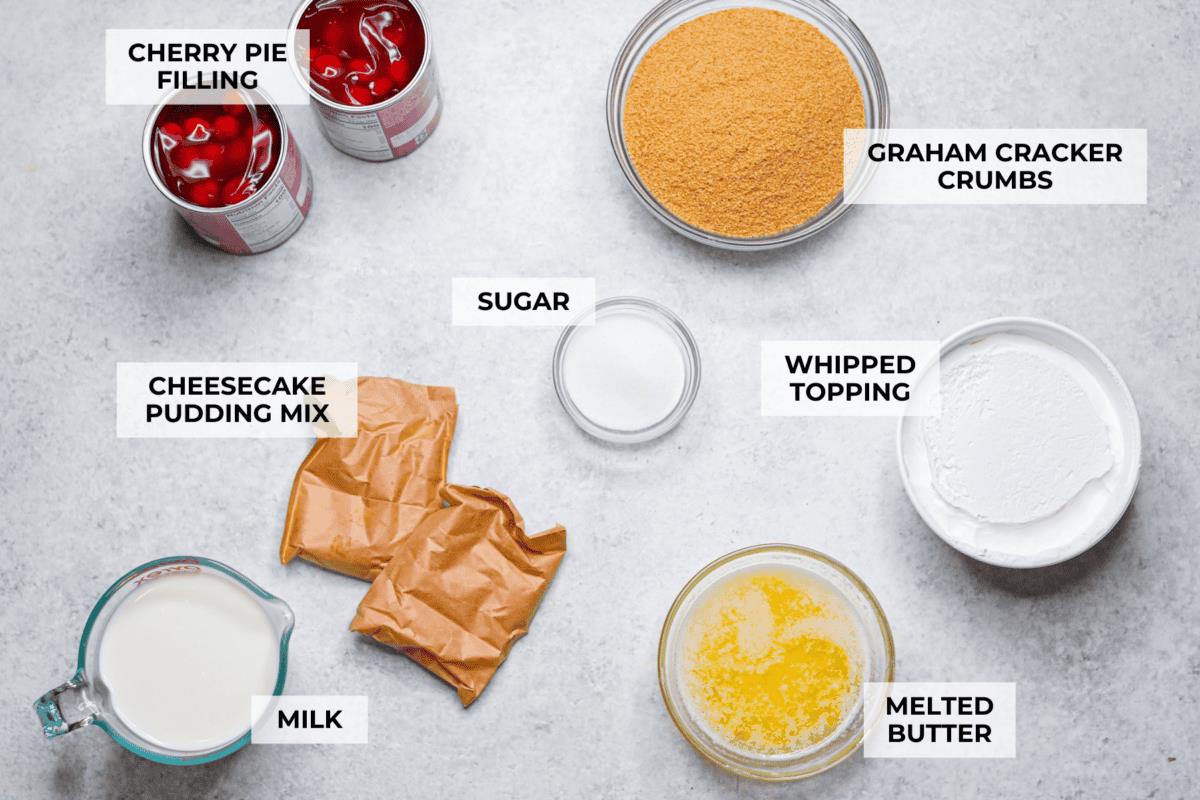
Cherry Cheesecake Lush Ingredients
Switch the Crust: Graham crackers are classic, but vanilla wafers or shortbread cookies also work. If you swap the crust, skip the added sugar and just mix the crumbs with butter.
Pudding Mix: Instant vanilla pudding works too. For a homemade cheesecake layer, beat 16 ounces softened cream cheese, ¾ cup sugar, and 2 teaspoons vanilla until smooth. Chill for 30 minutes before layering.
Adjust the Cherry Topping: Use 1 can for a thinner layer, 1 ⅔ cans like I did, or 2 full cans for extra cherry flavor. More filling may make the slices softer.
Use Homemade Whipped Cream: Beat 2 ½ cups cold heavy cream with ½ cup powdered sugar until stiff peaks form, then spread it over the cherry layer.
Add Crunch: Top with crushed graham crackers or sliced almonds for extra texture.
How to Make Cherry Cheesecake Lush
If my family had to pick a favorite dessert category, lush desserts would definitely be at the top of the list! I knew I needed to add a cherry version of my lemon lush and orange creamsicle lush because y’all love them so much!
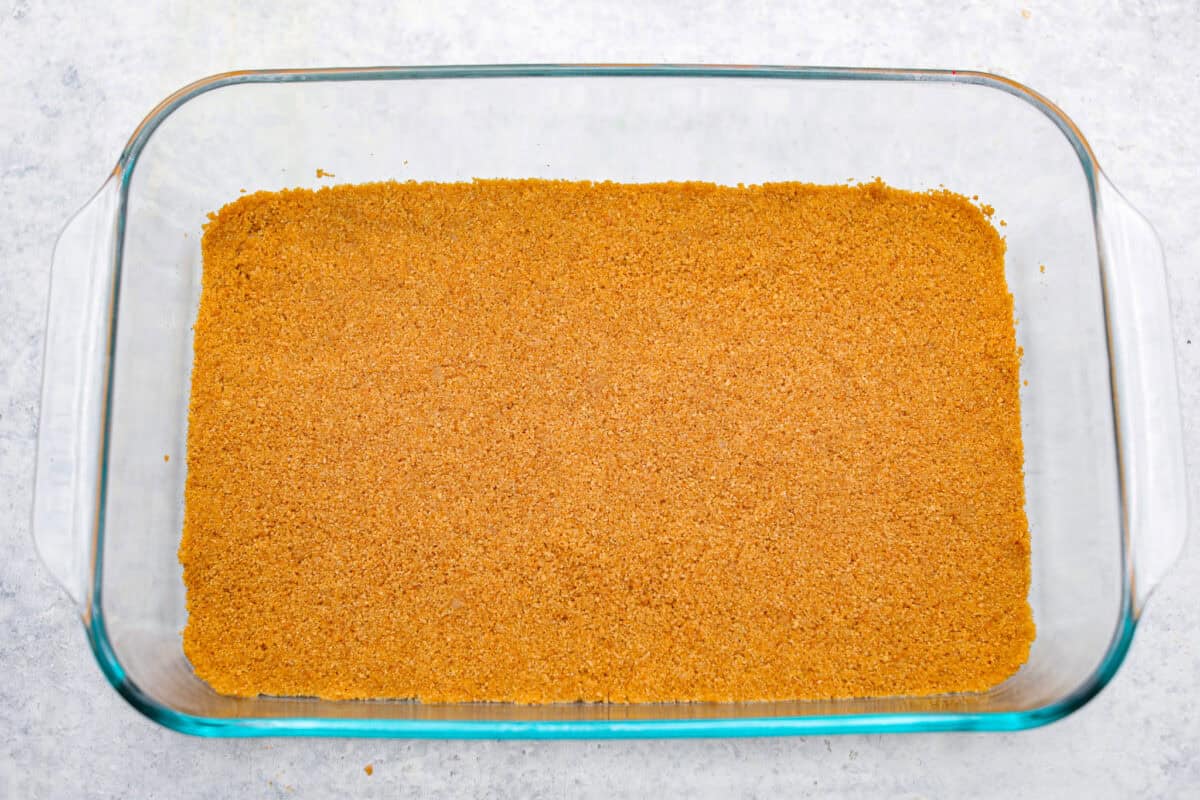
Make the Crust: In a large bowl, mix the graham cracker crumbs, sugar, and butter until the mixture looks like damp sand. Press the crumbs firmly into the bottom of a 9×13-inch baking dish, then chill for at least 30 minutes.
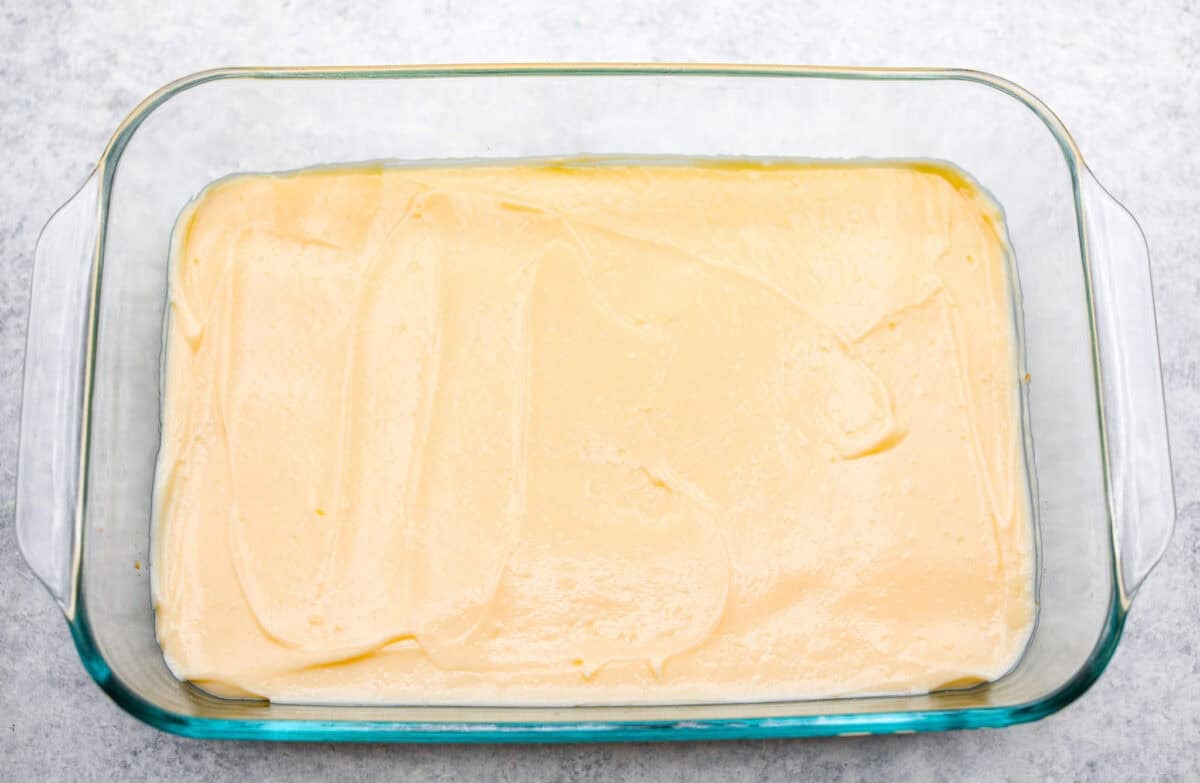
Mix the Pudding Layer: In a separate bowl, beat the cheesecake pudding mix and milk with a hand mixer until smooth and thick, about 2 minutes. Spread the pudding mixture evenly over the chilled crust.
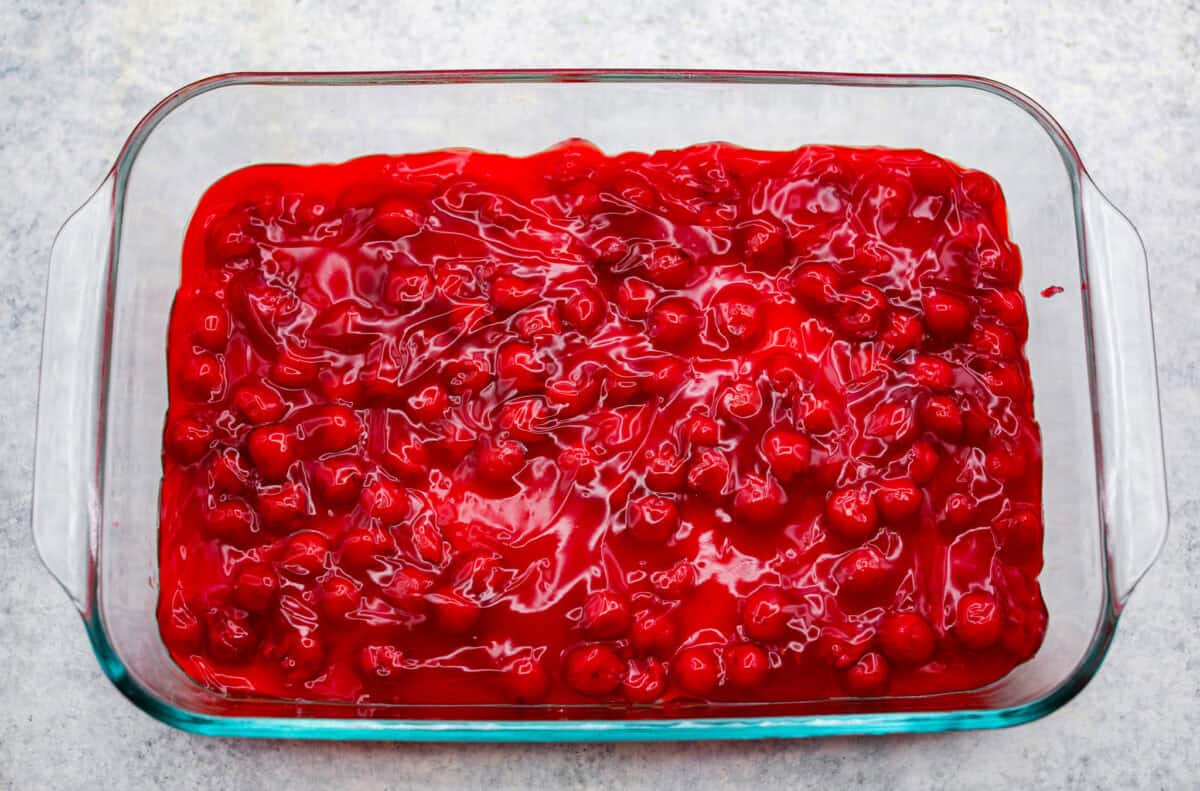
Add the Cherries: Spoon the cherry pie filling over the cheesecake layer, then spread it evenly.
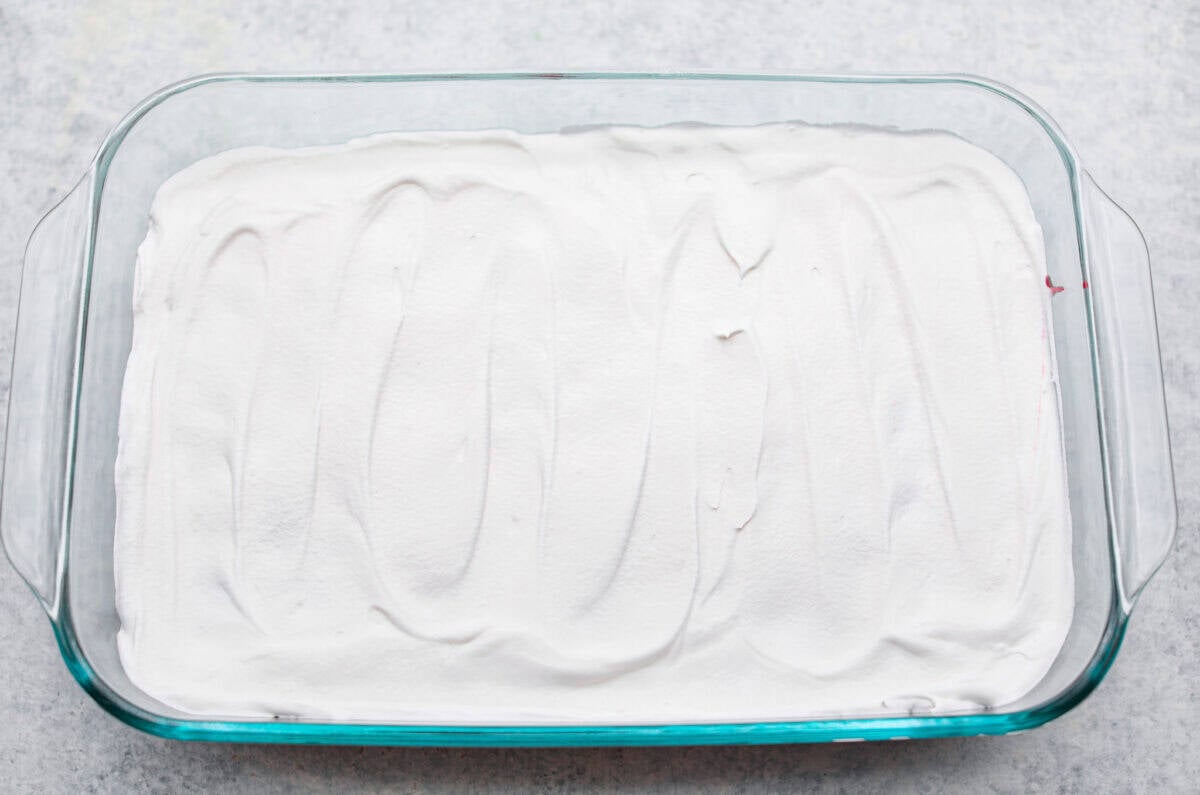
Add the Whipped Topping: Gently spread the whipped topping over the cherry pie filling until smooth.
Chill: Cover and refrigerate for at least 3 hours before serving. Add a sprinkle of graham cracker crumbs or slivered almonds on top of the cherry cheesecake lush, if desired.
Must Have Tools For This Recipe
9×13-inch Baking Dish: Allows you to see all the beautiful layers, and the lid makes it easy to cover and chill the dessert before serving.
Hand Mixer: It helps prevent lumps in the pudding mixture and allows it to thicken quickly.
Print
Cherry Cheesecake Lush
Creamy, fruity, and totally irresistible, this no-bake cherry cheesecake lush is the perfect combination of cheesecake and cherry pie flavors.
2(21-ounce)cans cherry pie fillingI ended up using about 1 ⅔ cans
Whipped Topping Layer
1(8-ounce)container thawed whipped topping
Instructions
Crust
Combine 2 ½ cups graham cracker crumbs, 3 tablespoons granulated sugar, and ¾ cup melted salted butter in a large bowl until the mixture resembles damp sand.
Press the graham cracker mixture into the bottom of a 9 x 13-inch baking dish, then chill in the refrigerator for at least 30 minutes.
Cheesecake Layer
In another large bowl, whisk together 2 (3.9-ounce) boxes instant cheesecake pudding mix and 3 cups whole milk until the pudding mix is fully dissolved and the mixture becomes very thick, about 2 minutes.
Spread the pudding evenly over the top of the chilled crust.
Cherry Layer
Carefully spoon 2 (21-ounce) cans cherry pie filling evenly over the top of the cheesecake layer.
Whipped topping layer
Carefully spread 1 (8-ounce) container thawed whipped topping evenly the cherry pie filling.
Cover and chill in the refrigerator for at least 3 hours before serving. Garnish with graham cracker crumbs or slivered almonds, if desired.
Notes
Leftover and Make Ahead Instructions
Storing: Cover tightly with a lid or plastic wrap and store in the refrigerator for 3-4 days. Keep it chilled until serving so the layers hold their shape.
Make Ahead: The crust can be made 1-2 days in advance. Cover and refrigerate it until you are ready to add the remaining layers.
Cherry lovers, these are for you! After making this cherry lush, you’ll want to keep the cherry goodness going. Here are a few more sweet and easy cherry desserts that are sure to become favorites.
Desserts
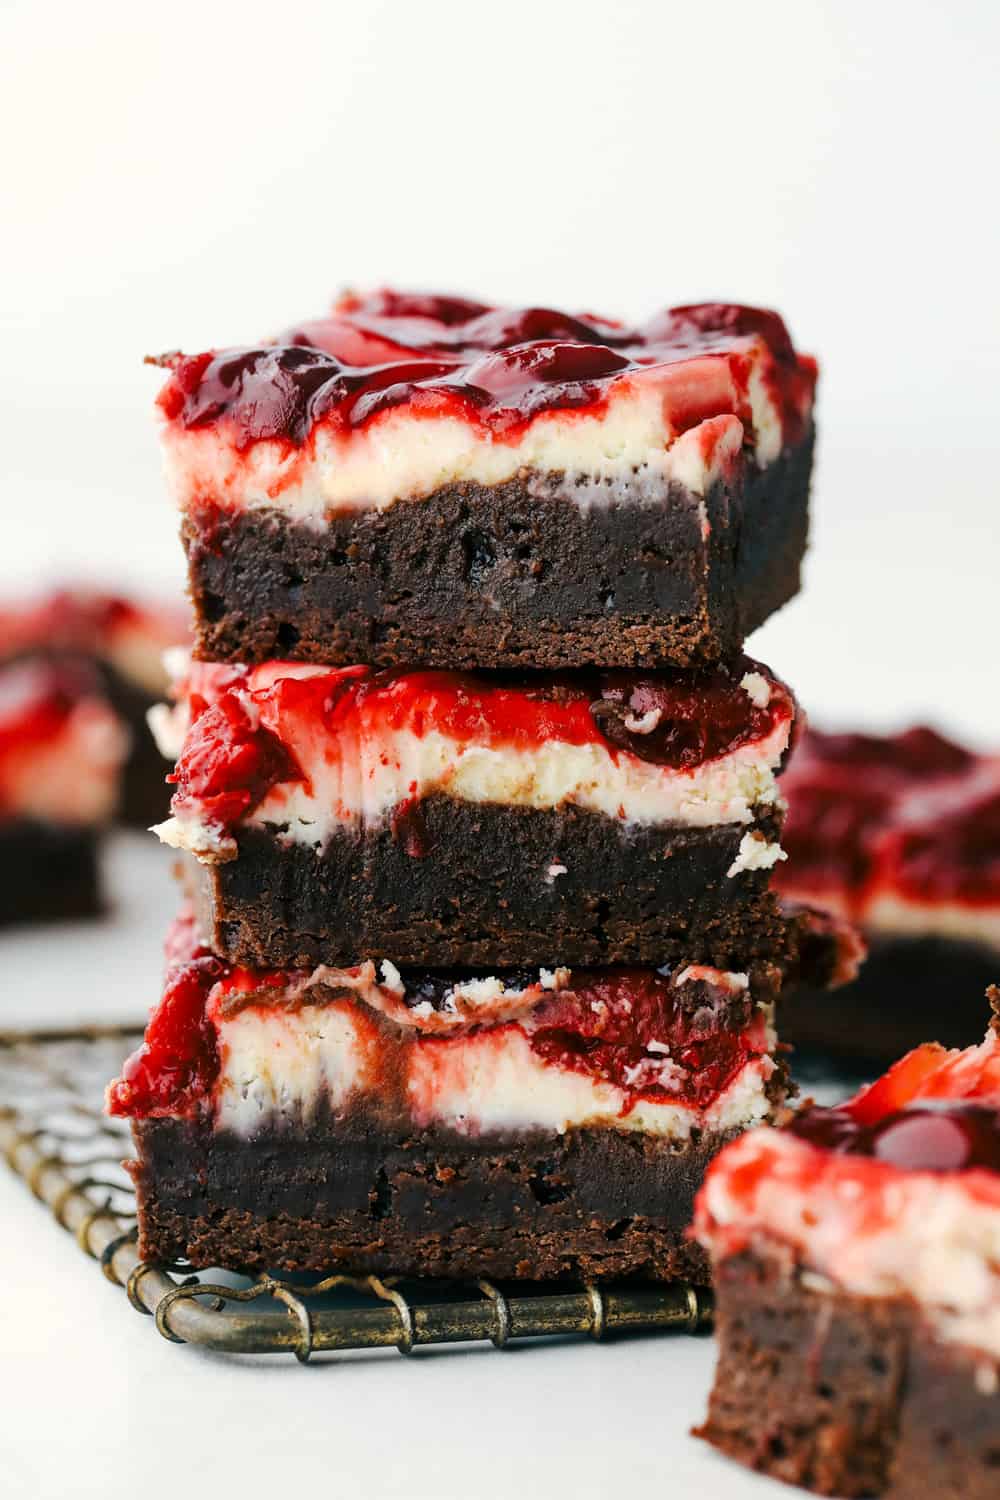
Cherry Cheesecake Brownies
1 hour
Recipe Skill Levels
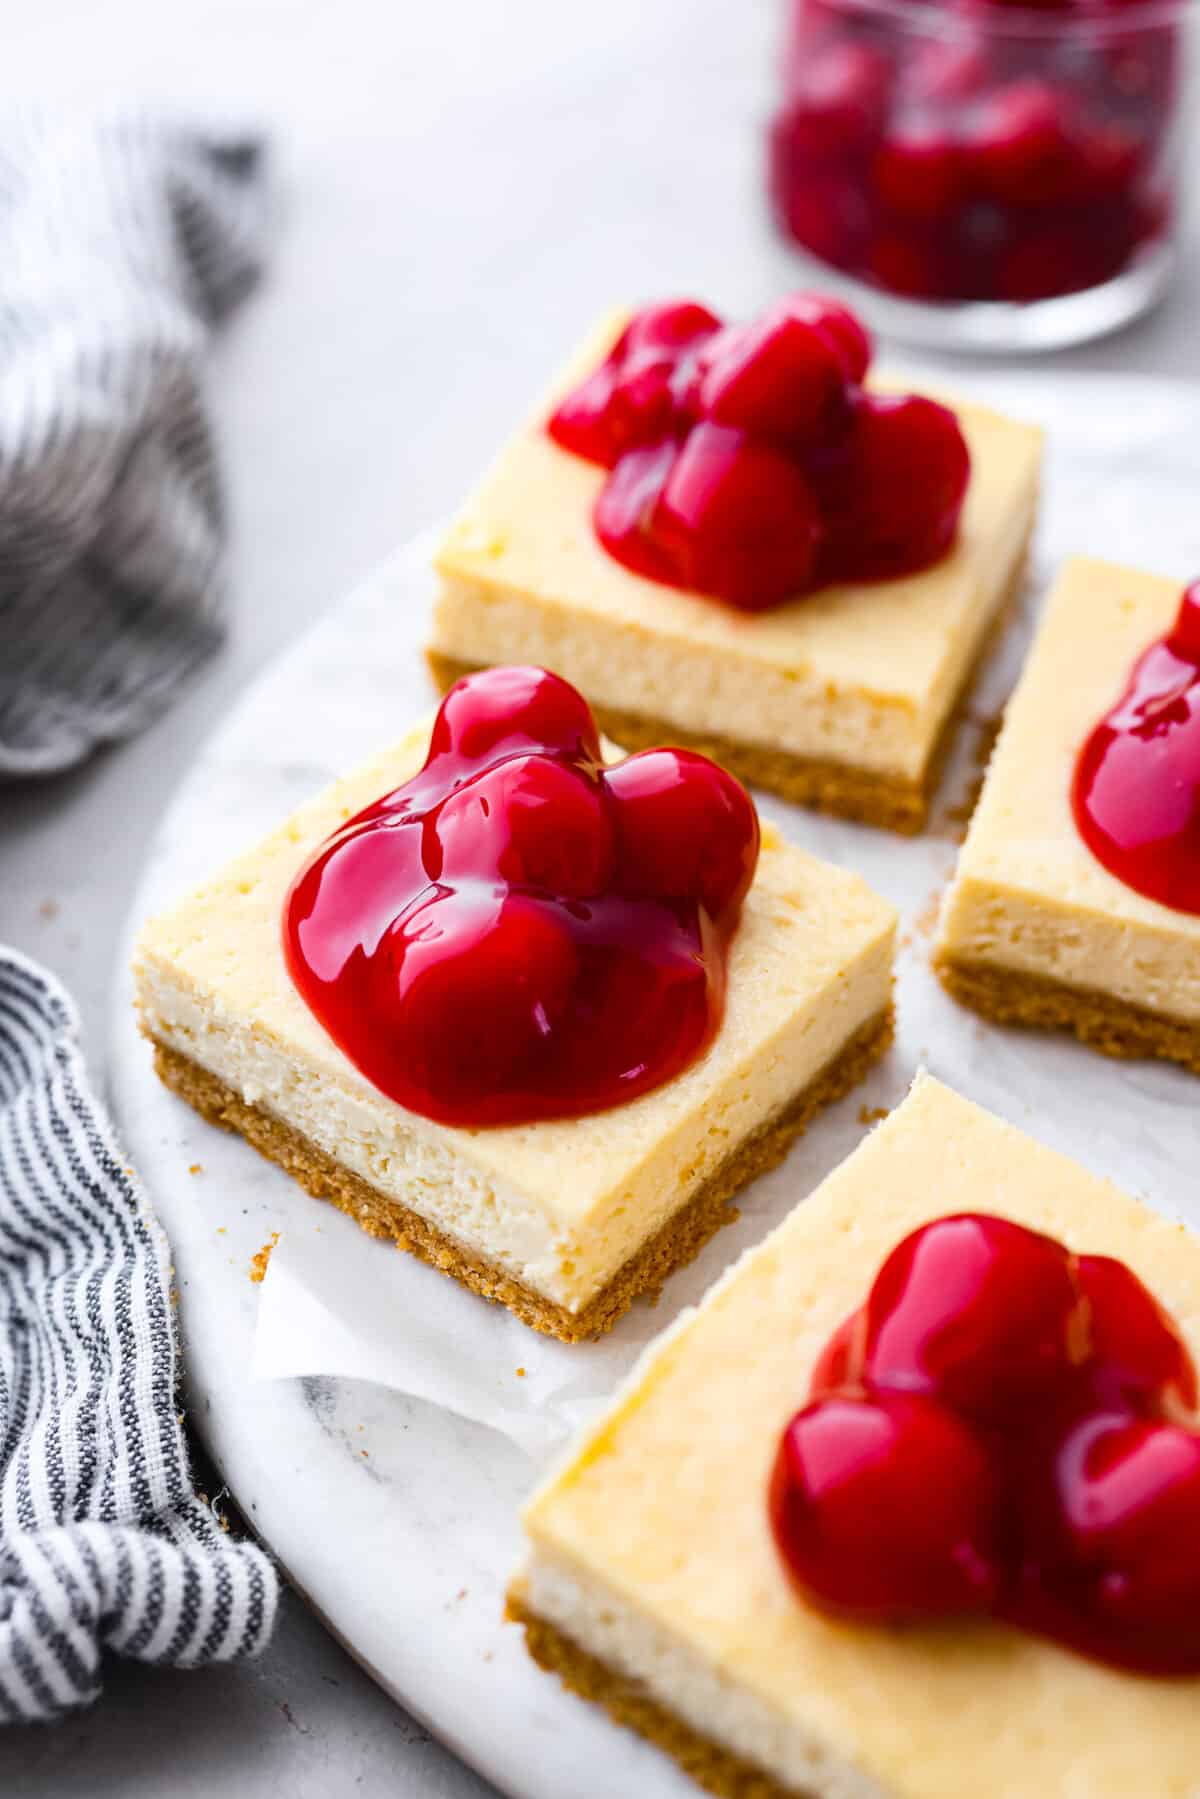
Cherry Cheesecake Bars
55 minutes
Side Dishes
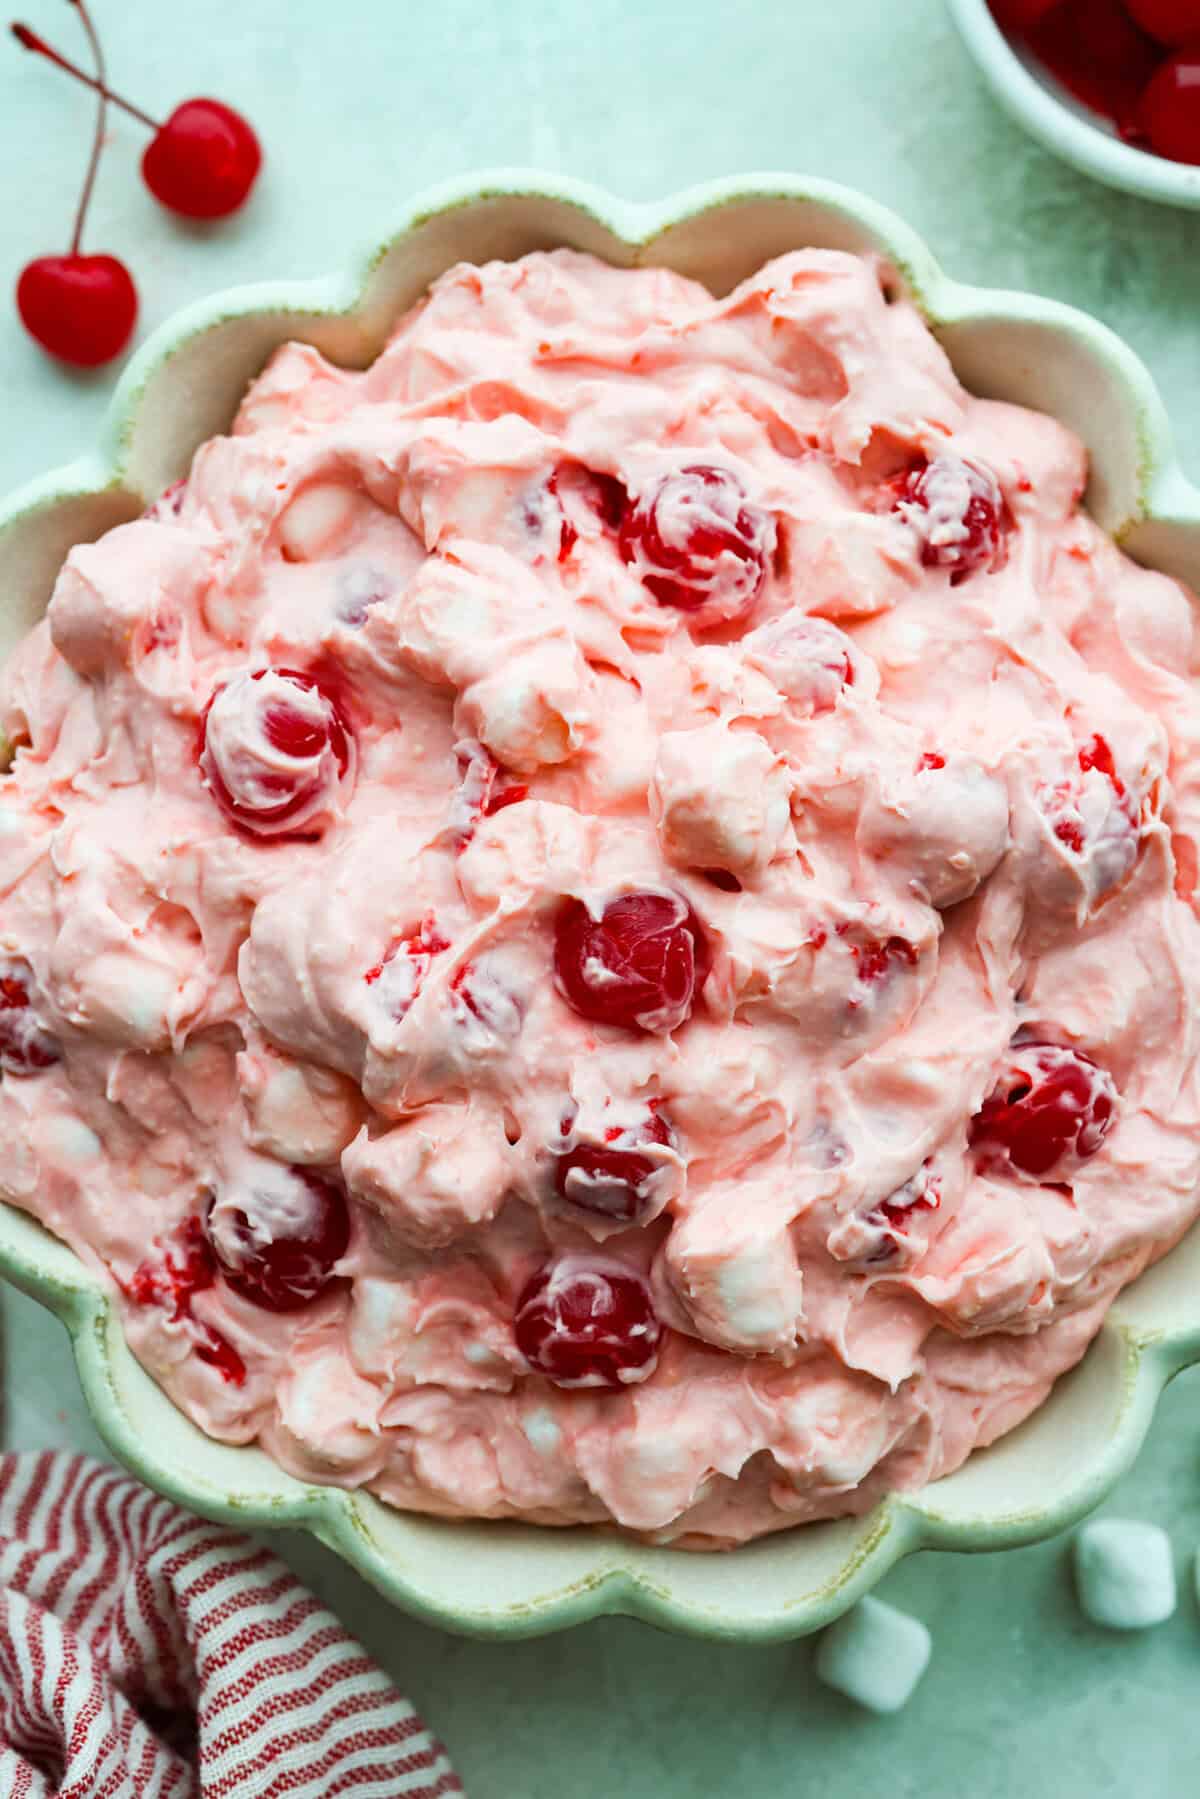
Cherry Cheesecake Fluff Salad
1 hour 10 minutes
Recipe Skill Levels
Cherry Slab Pie
2 hours 15 minutes
Share This
Latest Posts
Boorito Returns: Chipotle To Offer $6 Entrees on Halloween 2026
21 October, 20262 Views
The 50 Best Restaurants Announces the 51-100 List for 2026
21 October, 20267 Views
Cowboy Burger Soup
21 October, 20265 Views
Danone partners on $40M facility turning yogurt waste to renewable energy
21 October, 20269 Views
Whataburger Blazes Into the Holidays with Four Limited-Time Favorites